Room
Desk
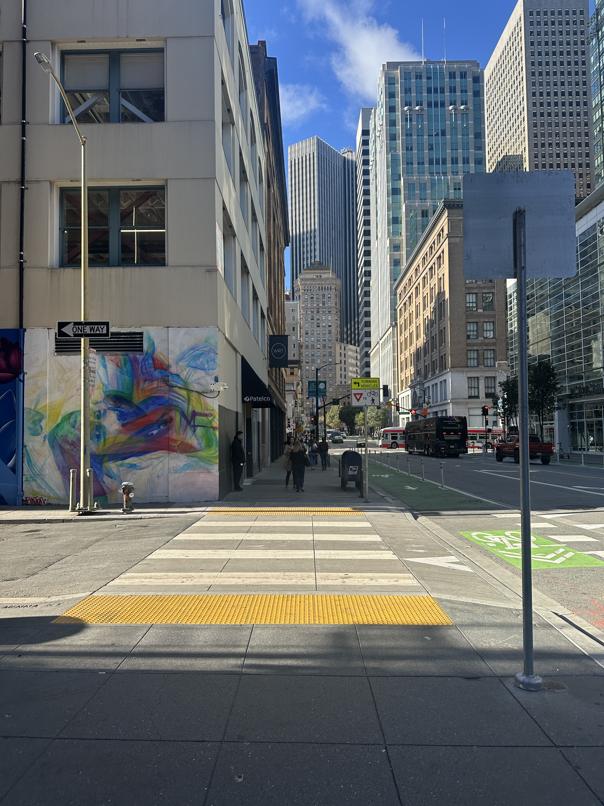
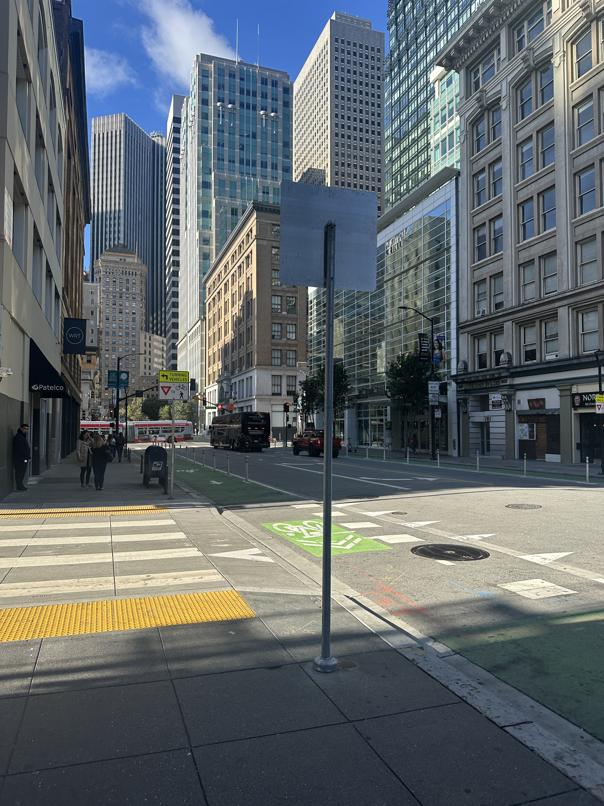
SF
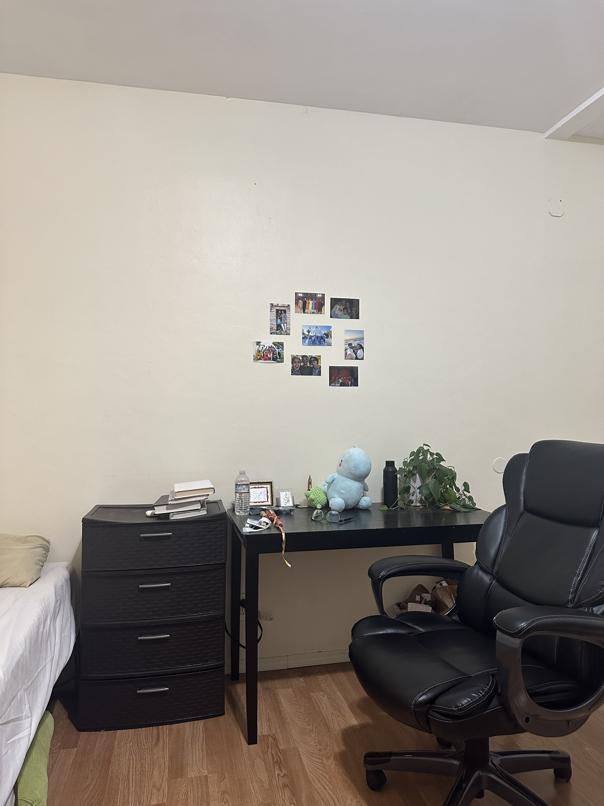
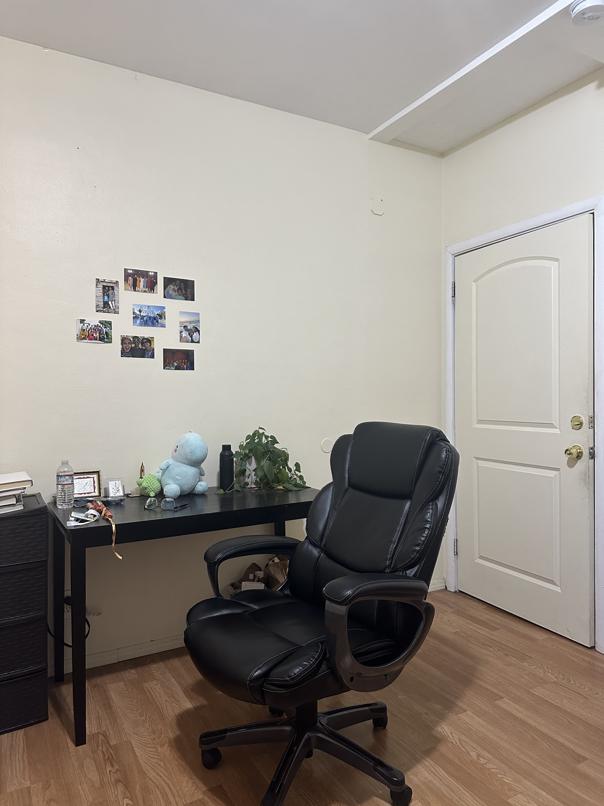
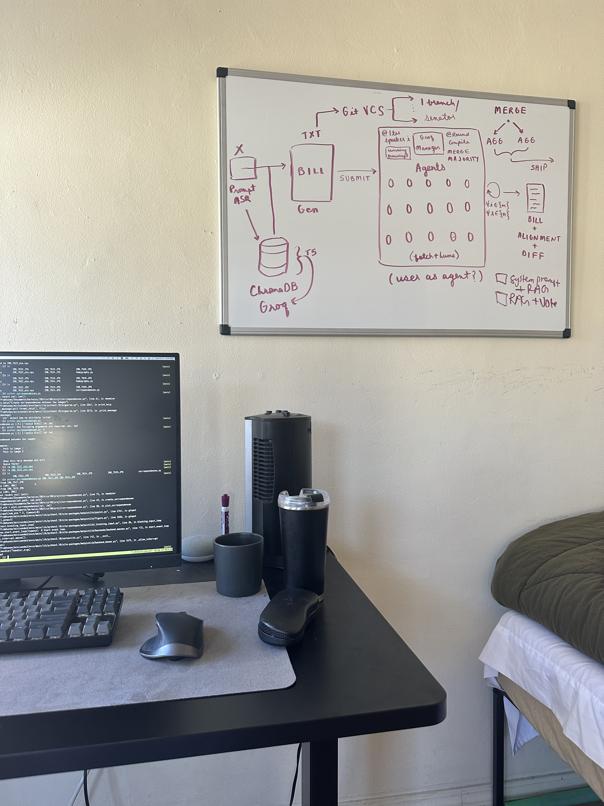
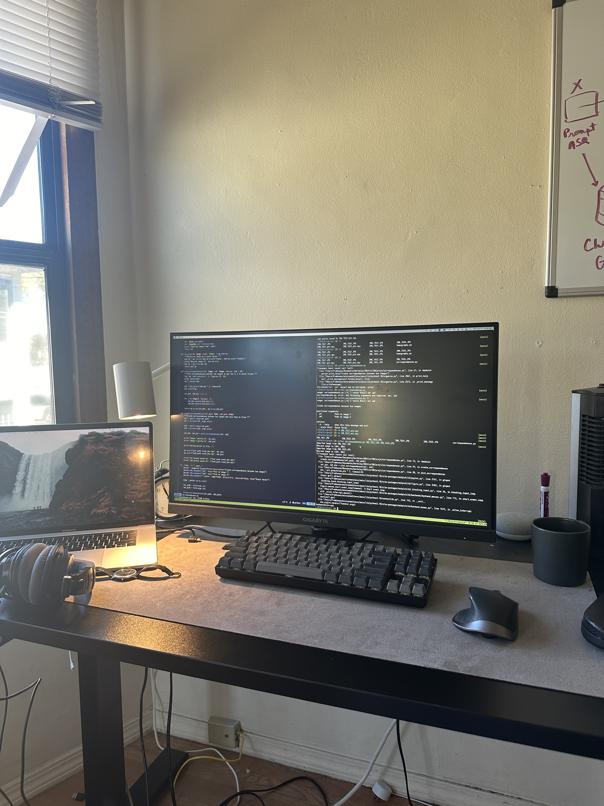
In the first part, I took some pictures both in my room as well as in San Francisco. To ensure accurate homographies, the center of rotation must be held constant as the camera rotates. Here are the images:


Room


Desk


SF
Next, we want to compute a transformation between a pair of images.
First, we must create a manual correspondence between the images (i.e.
matching keypoints). For this, I used the ginput function
for a click-based interface, and matched 10 keypoints for every pair.
Here is an example of how these correspondences look:
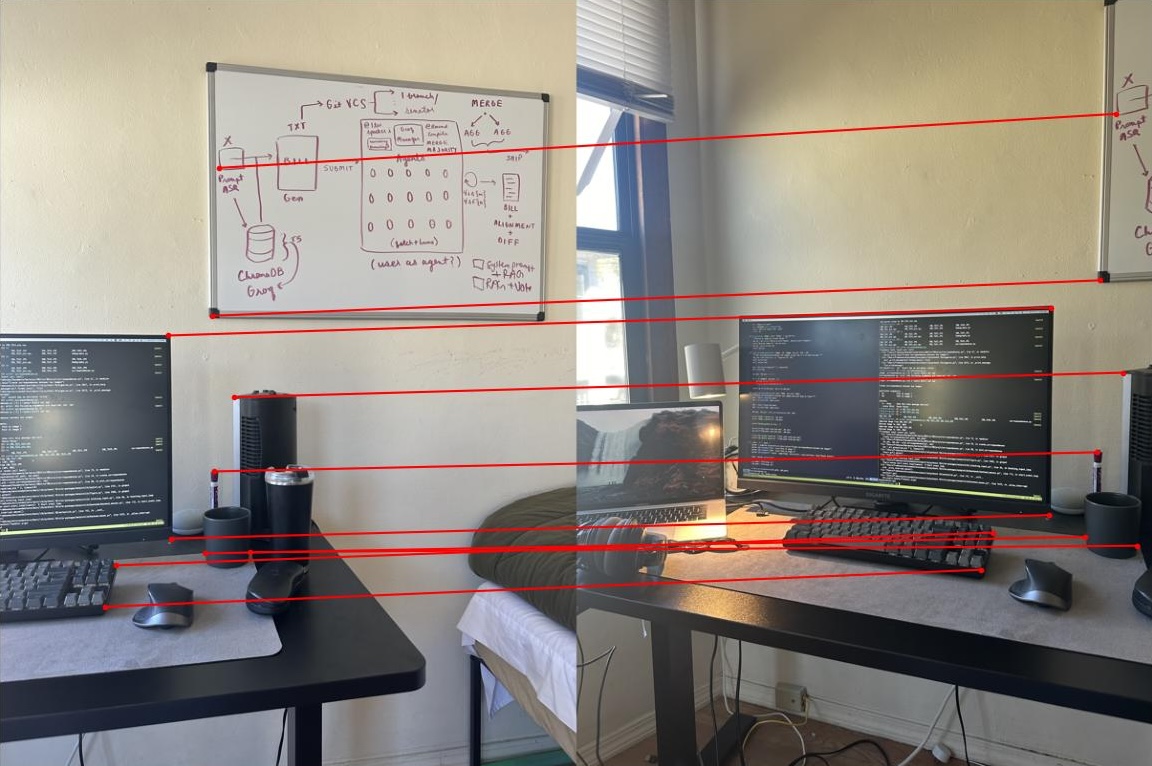
Desk Correspondences
After we have these corresponences, we can compute a homography between
the two images. The method for this is as follows:
We first want to find parameters such that the following equation holds
for all points $x$, $y$ in image 1 such that $x'$, $y'$ are the corresponding
points in image 2.
\[
\begin{bmatrix}
a & b & c\\
d & e & f\\
g & h & 1
\end{bmatrix}
\begin{bmatrix}
x\\y\\1
\end{bmatrix}
= \begin{bmatrix}
wx'\\wy'\\w
\end{bmatrix}
\]
We can expand this matrix multiplication to reach a system of equations that reduce to:
\[
\begin{bmatrix}
x & y & 1 & 0 & 0 & 0 & -x x' & -y x'\\
0 & 0 & 0 & x & y & 1 & -xy' & -y y'
\end{bmatrix}
\begin{bmatrix}
a\\b\\c\\d\\e\\f\\g\\h
\end{bmatrix}
=
\begin{bmatrix}
x'\\y'
\end{bmatrix}
\]
Using least squares, we solve for the $a$ to $g$ parameters (by stacking the first matrix and result for every correspondence), which then create
\[
H =
\begin{bmatrix}
a & b & c\\
d & e & f\\
g & h & 1
\end{bmatrix}
\]
We can now use this computed homography to warp one image to the other. We use inverse warping, where we use inverse $H$
and use LinearNDInterpolator to interpolate the pixel values. This is very similar to the solution from a previous project,
however our polygon here is the bounding box instead of triangles.
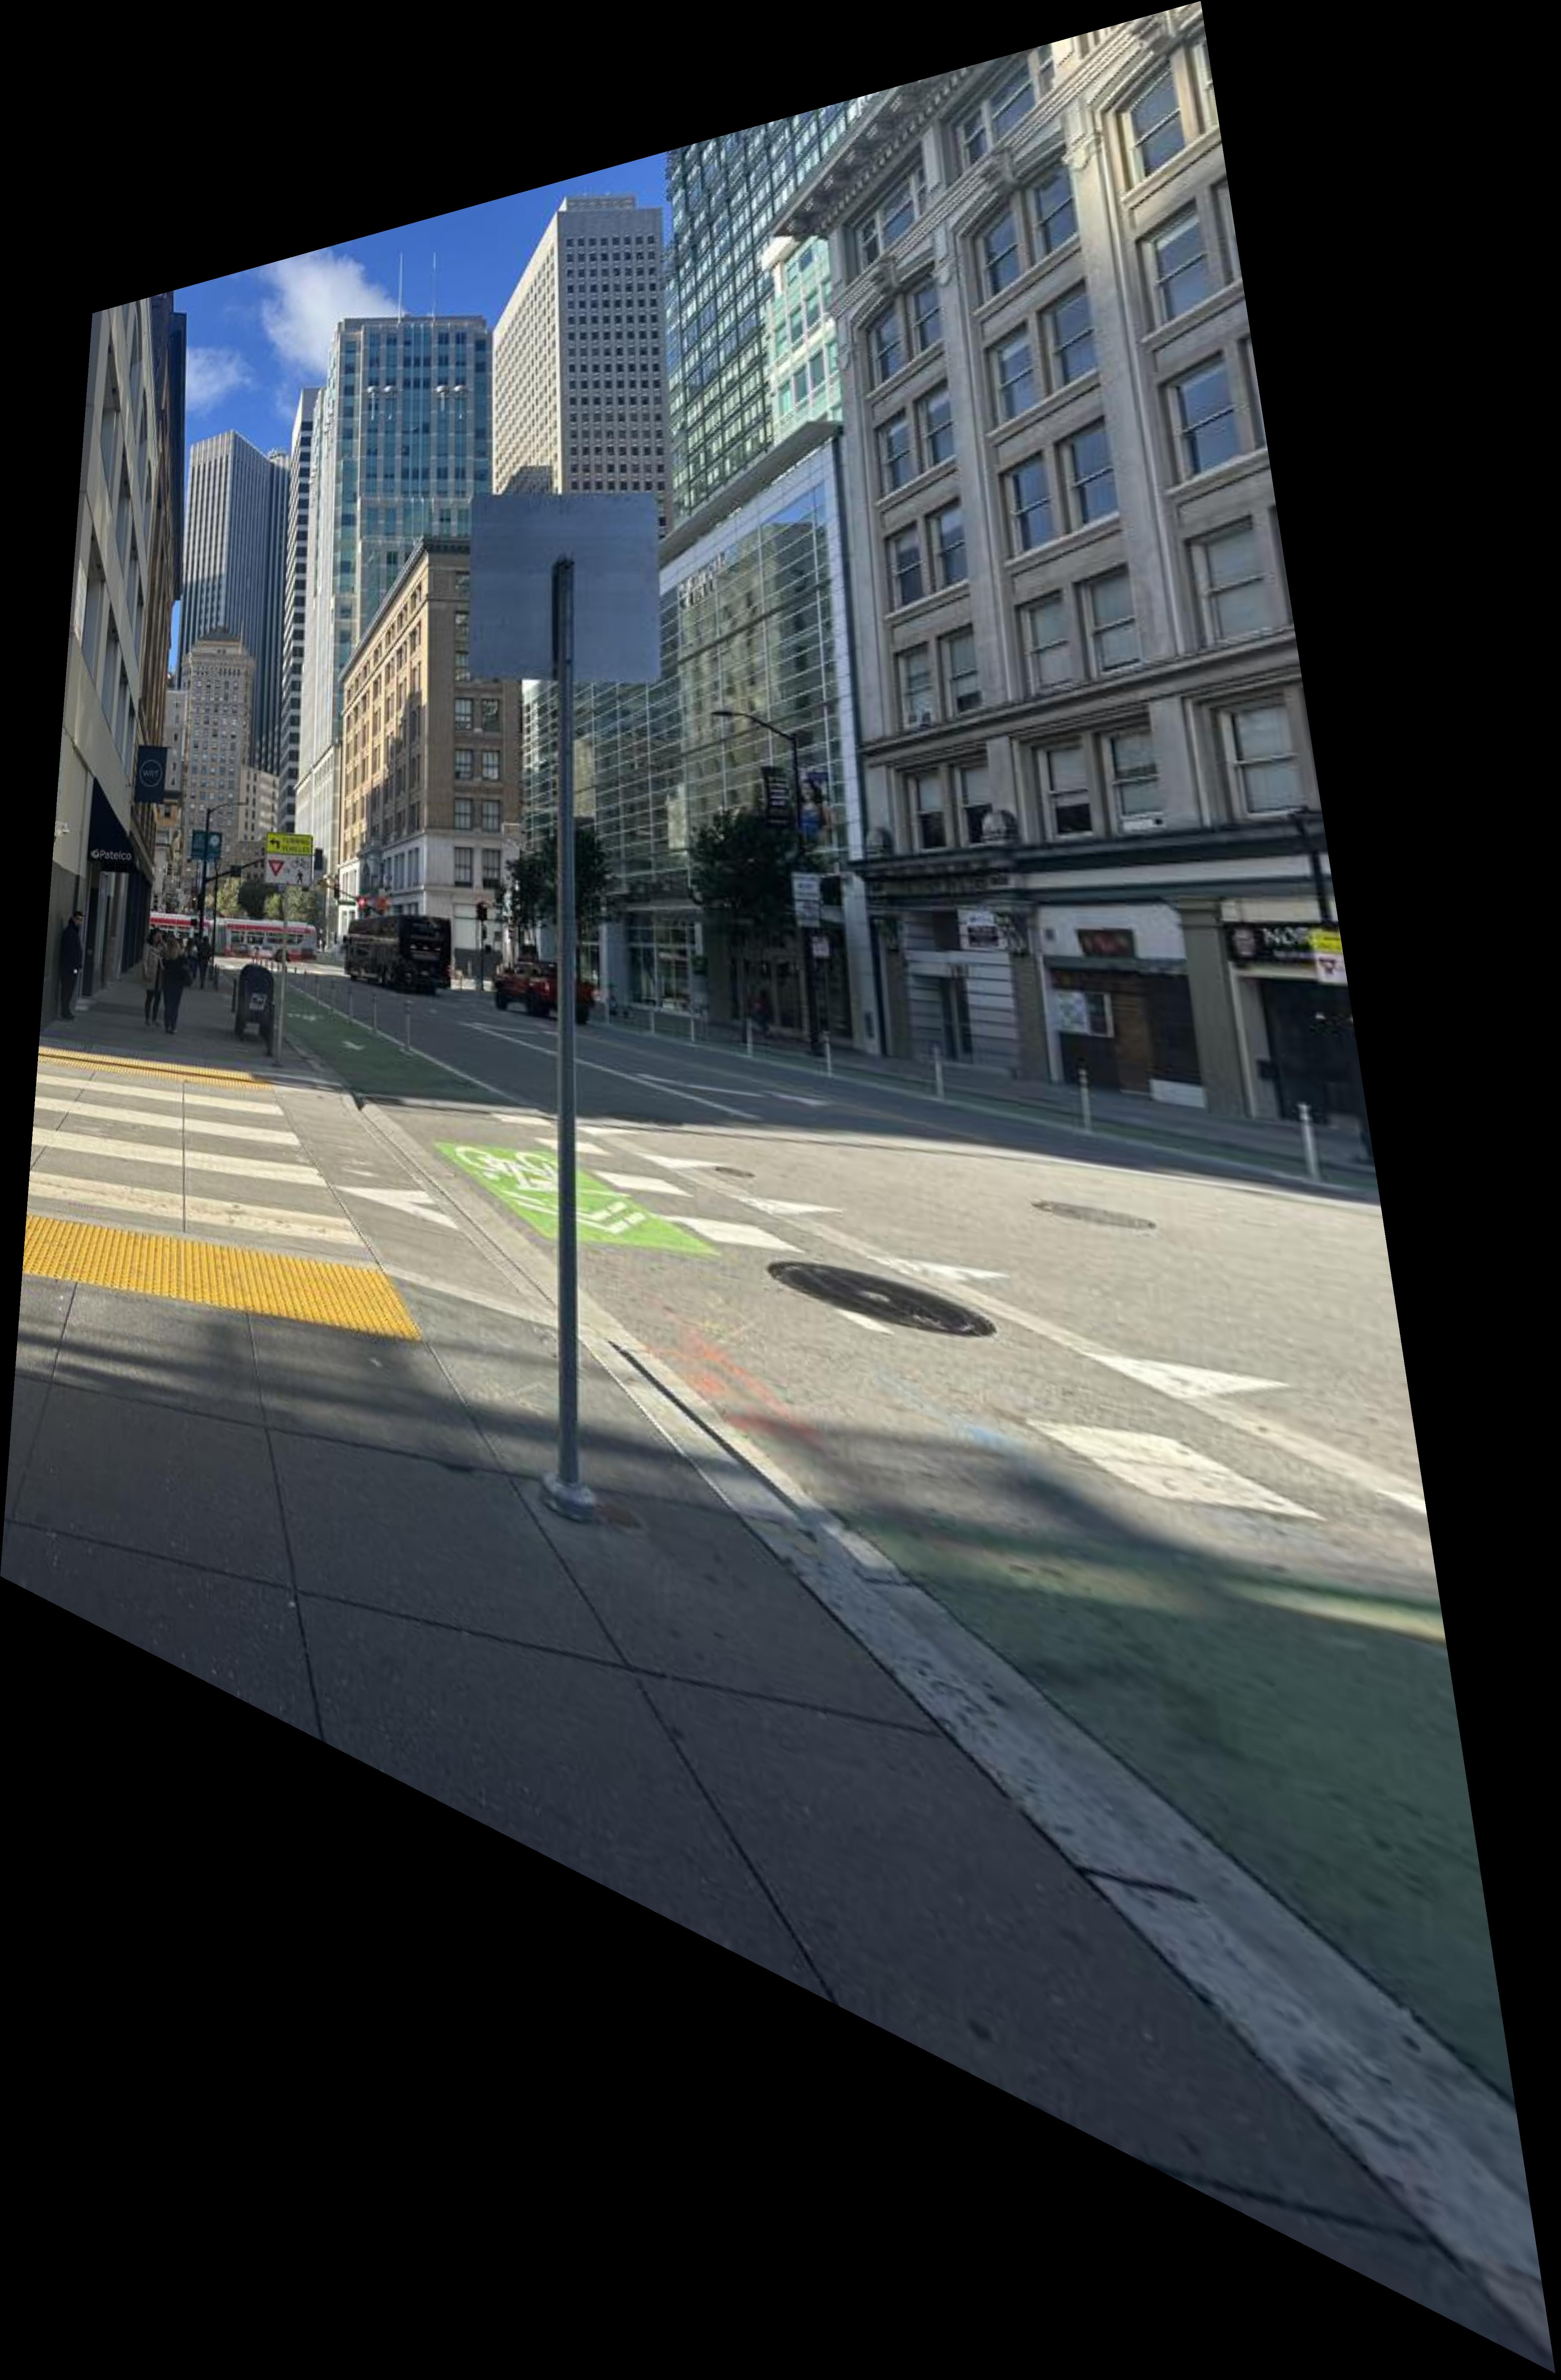
Using the warp technique, we choose a standard box of 200x200 or 500x500 pixels and warp some preselected keypoints to this box. This can be interpreted as rectifying the image, and we can see the results below:

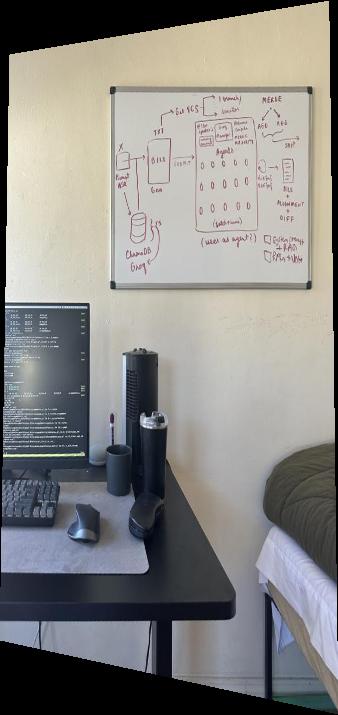
Desk Rectified

SF Rectified
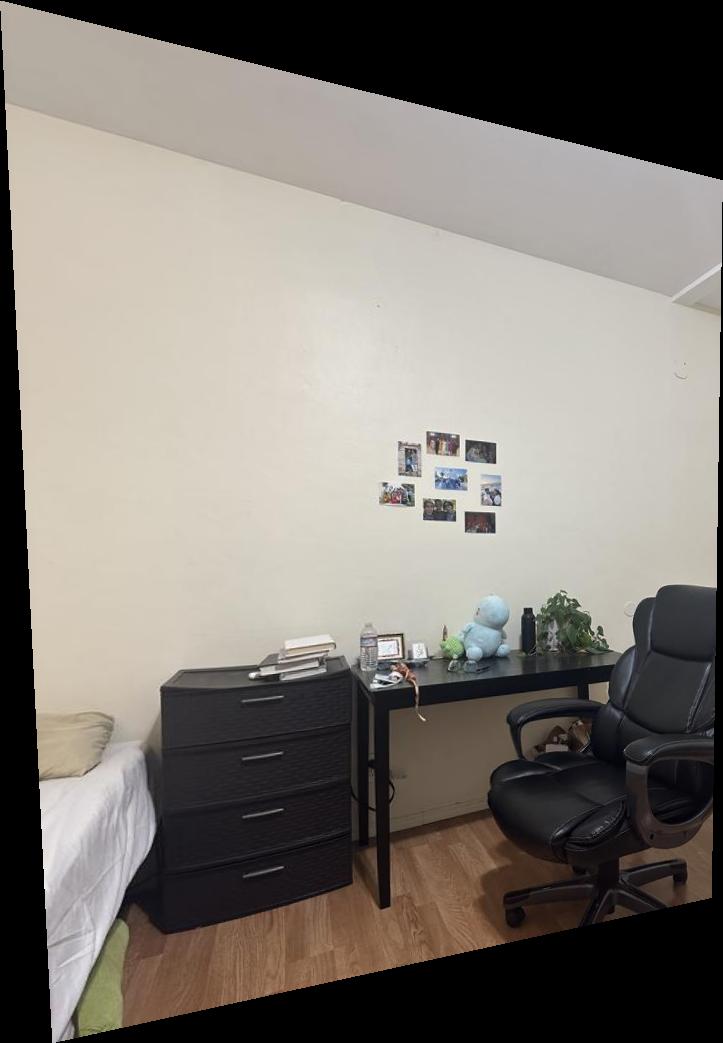
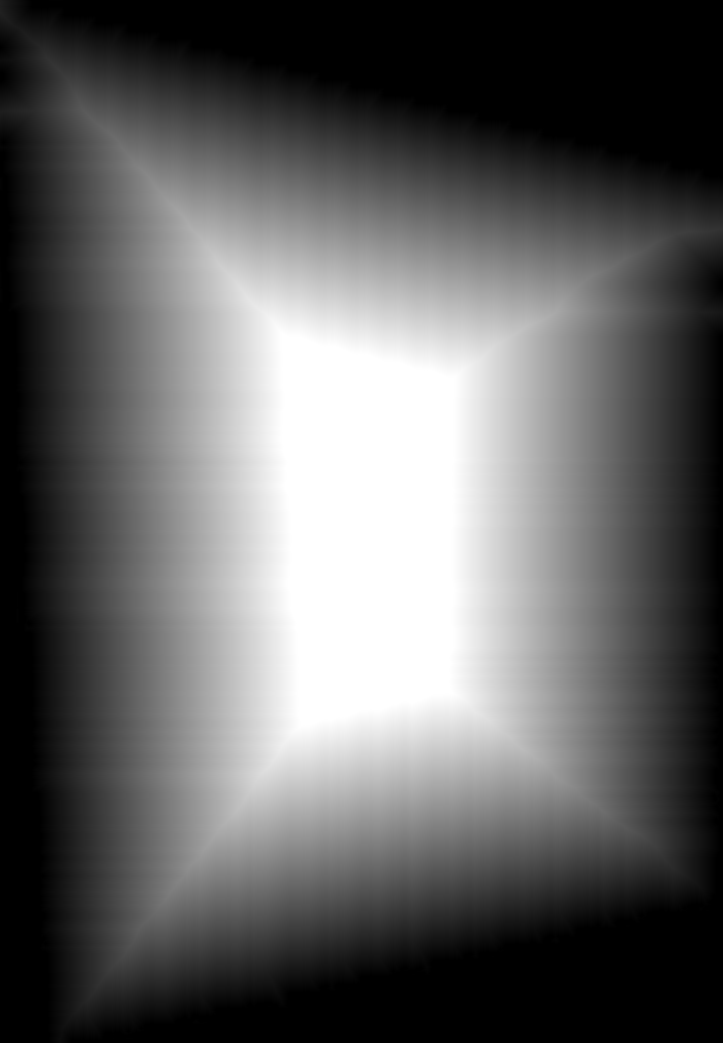
The final step in Part A of this project is to create a mosaic of the two images. We can do this by first warping the second image to the first image's perspective. However, this doesn't create a smooth transition between the two images. For this, we use a blending technique using an alpha mask. We scale the alpha mask to represent the distance from the edge of the image (after a Gaussian pass), and weight the high and low pass filtered images before adding them together. This creates a smooth transition between the two images. Here is an example of this mask:
Warped Image
Alpha Mask
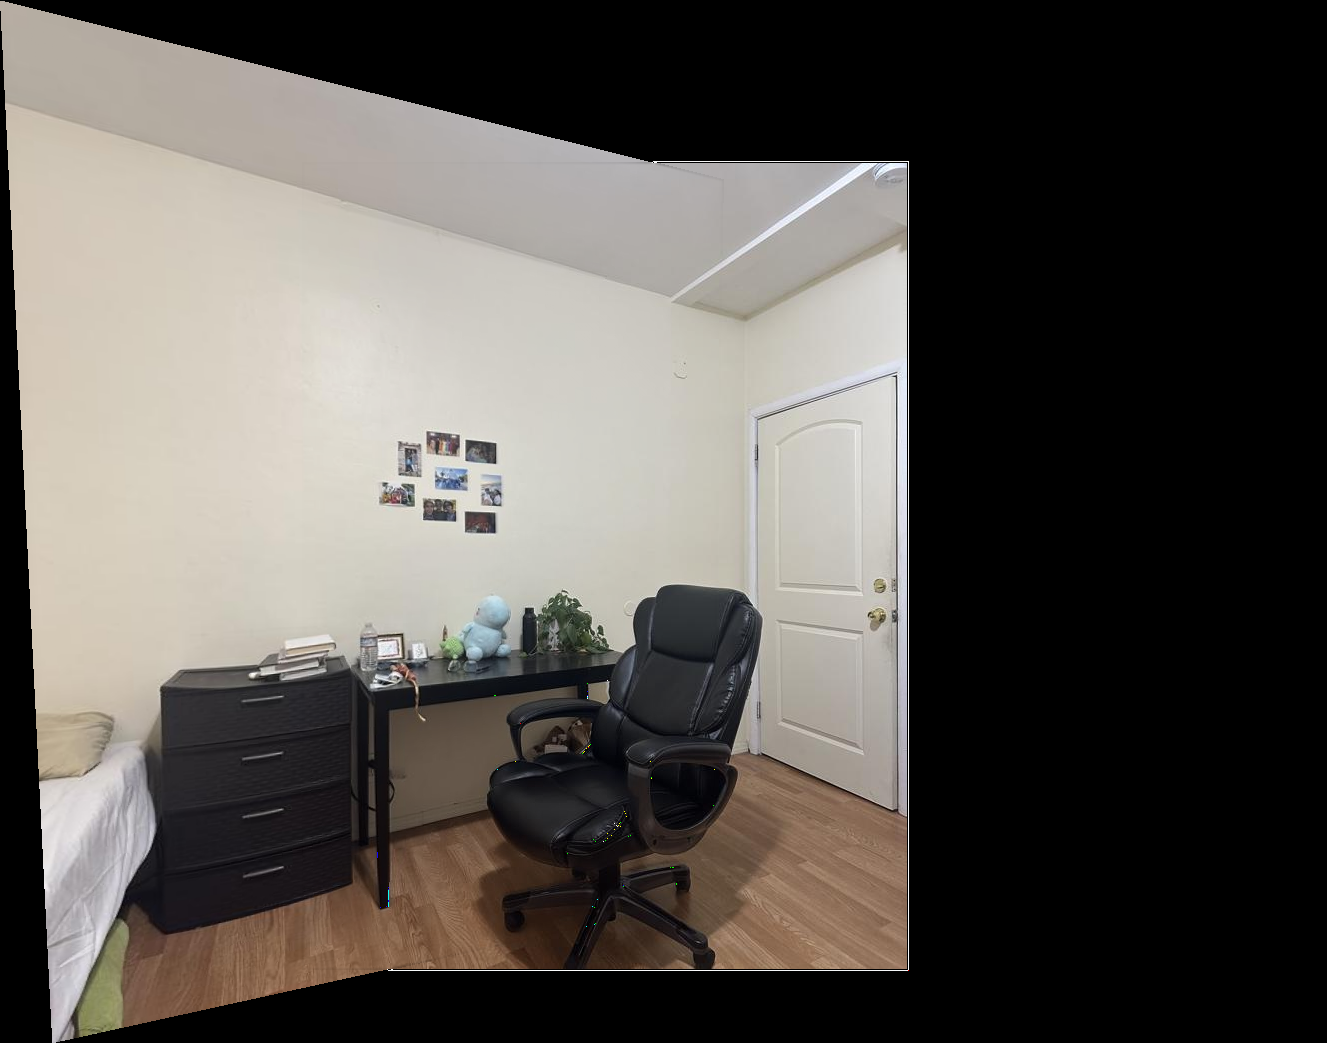
After this, we can blend the two images together to create a mosaic. Here are the three mosaics:
Room Mosaic
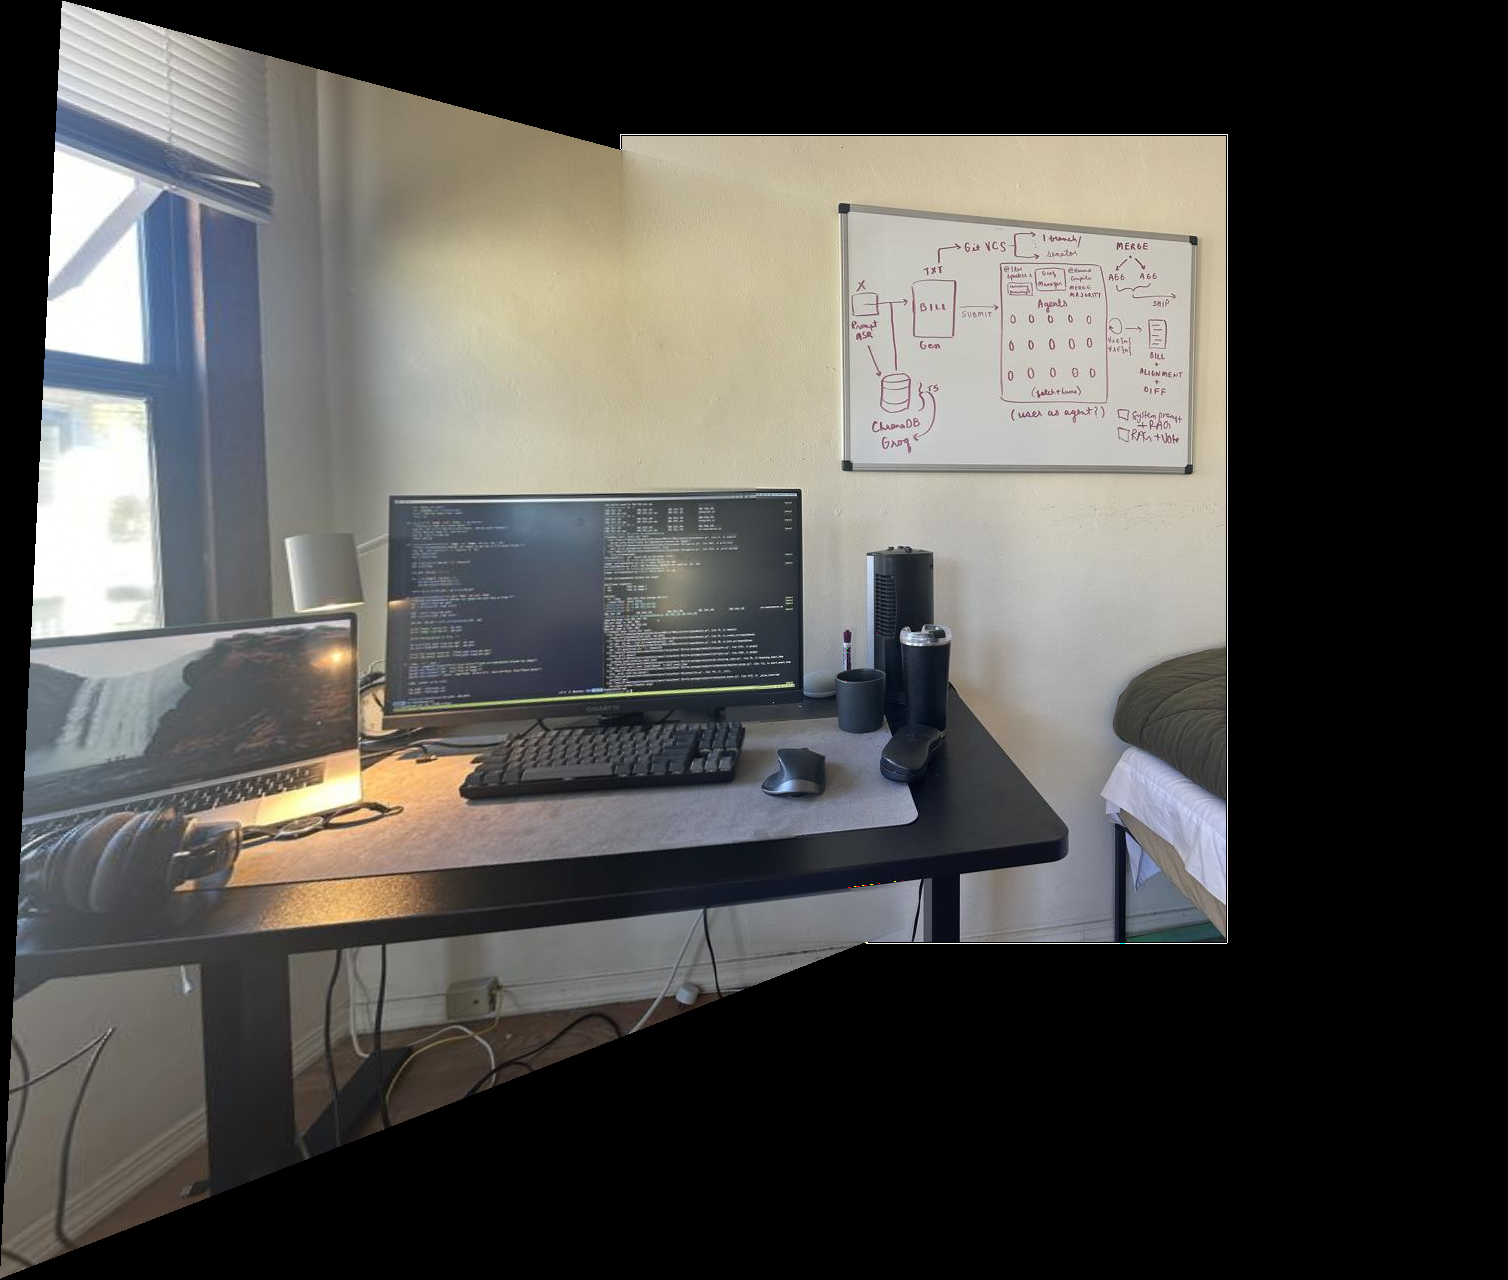
Desk Mosaic
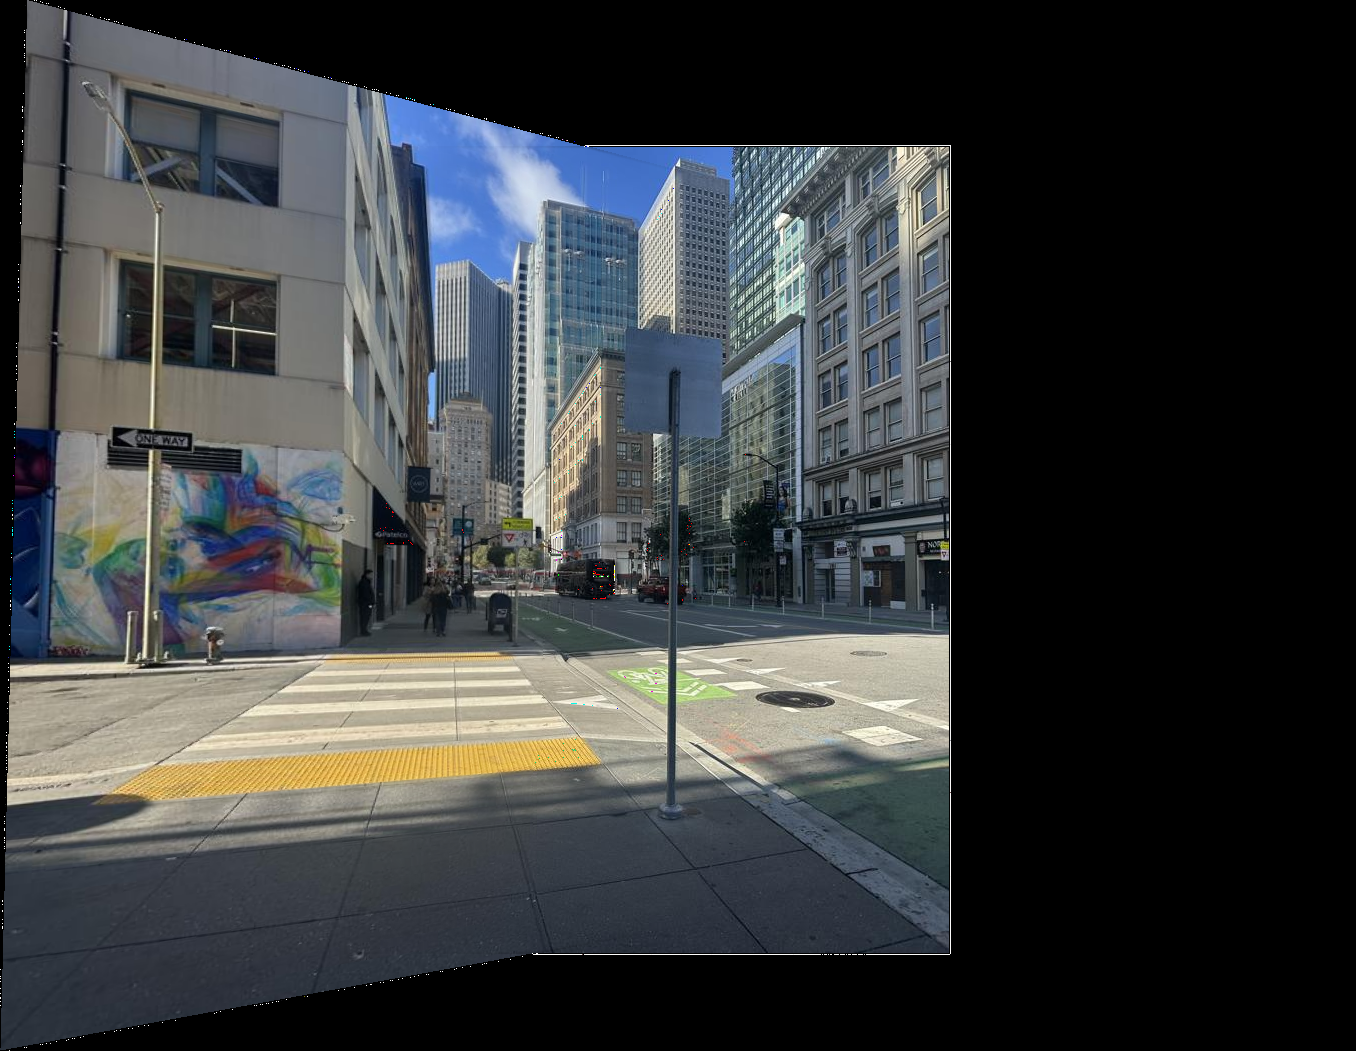
SF Mosaic
In part B, we want to automate the correspondence process. First, we use the provided code for the Harris corner detector to find general keypoints in each image. Here are some examples (relative threshold: $t = 0.1$):
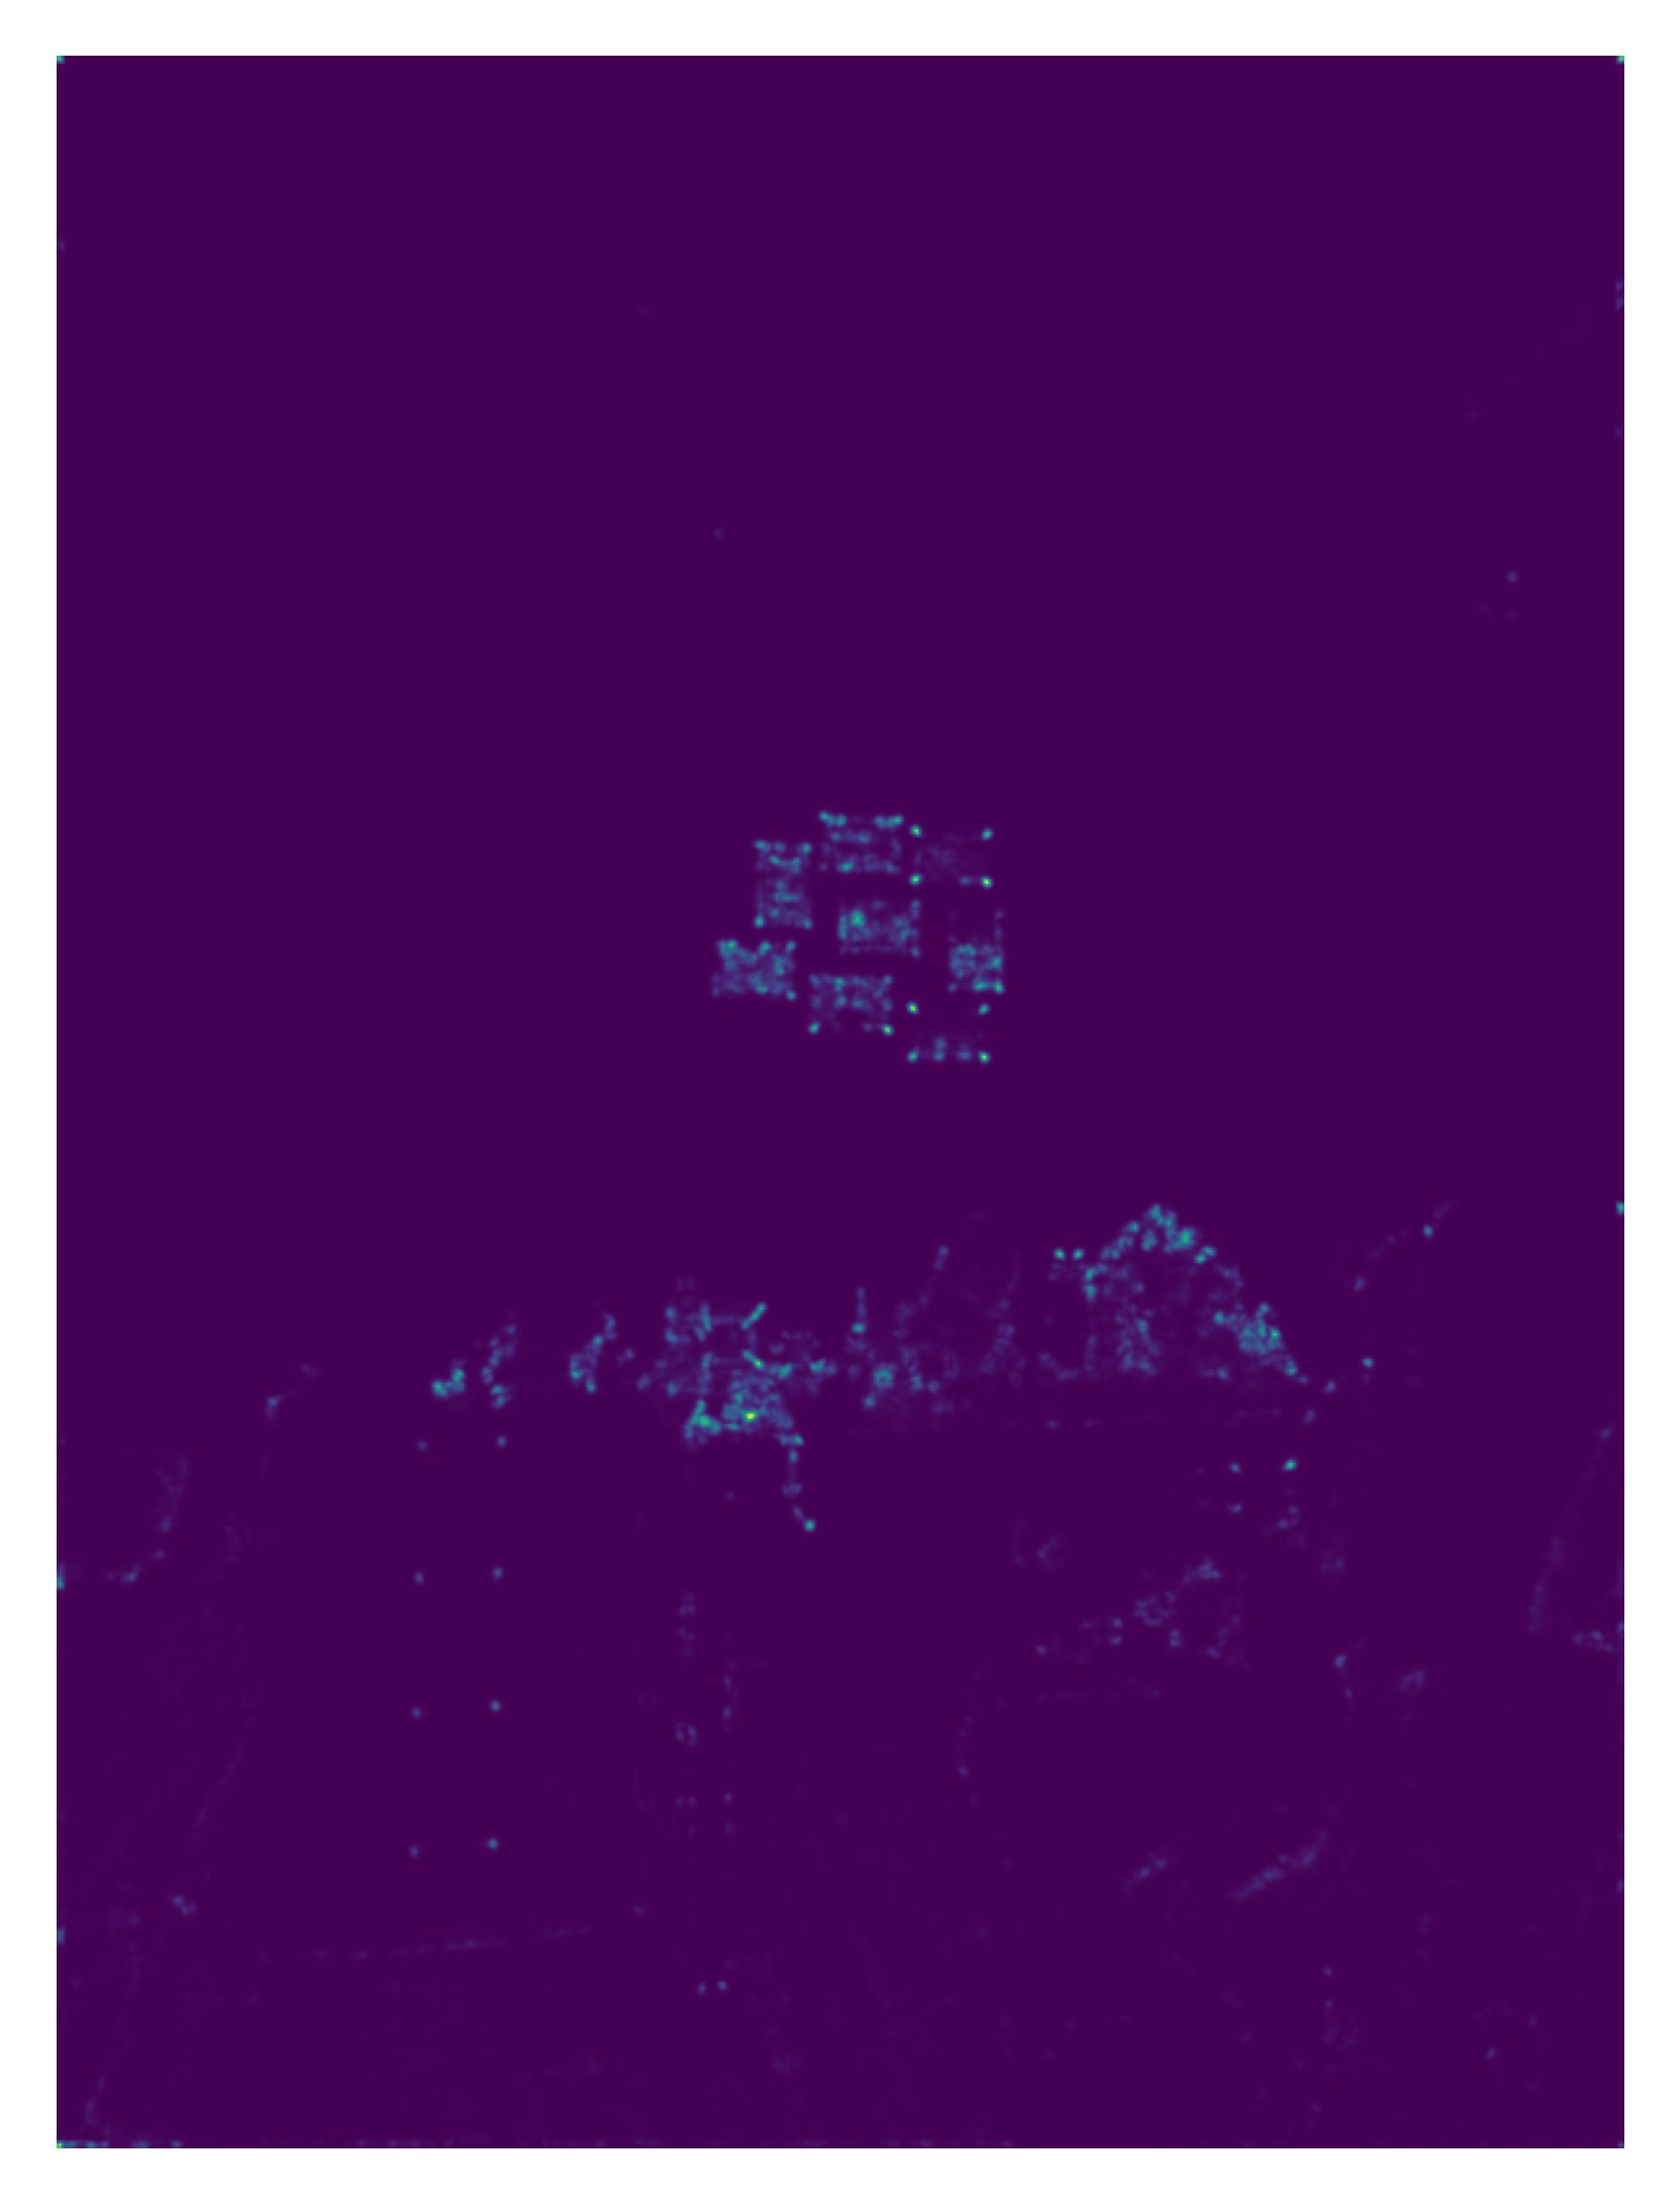
Room Harris Strength
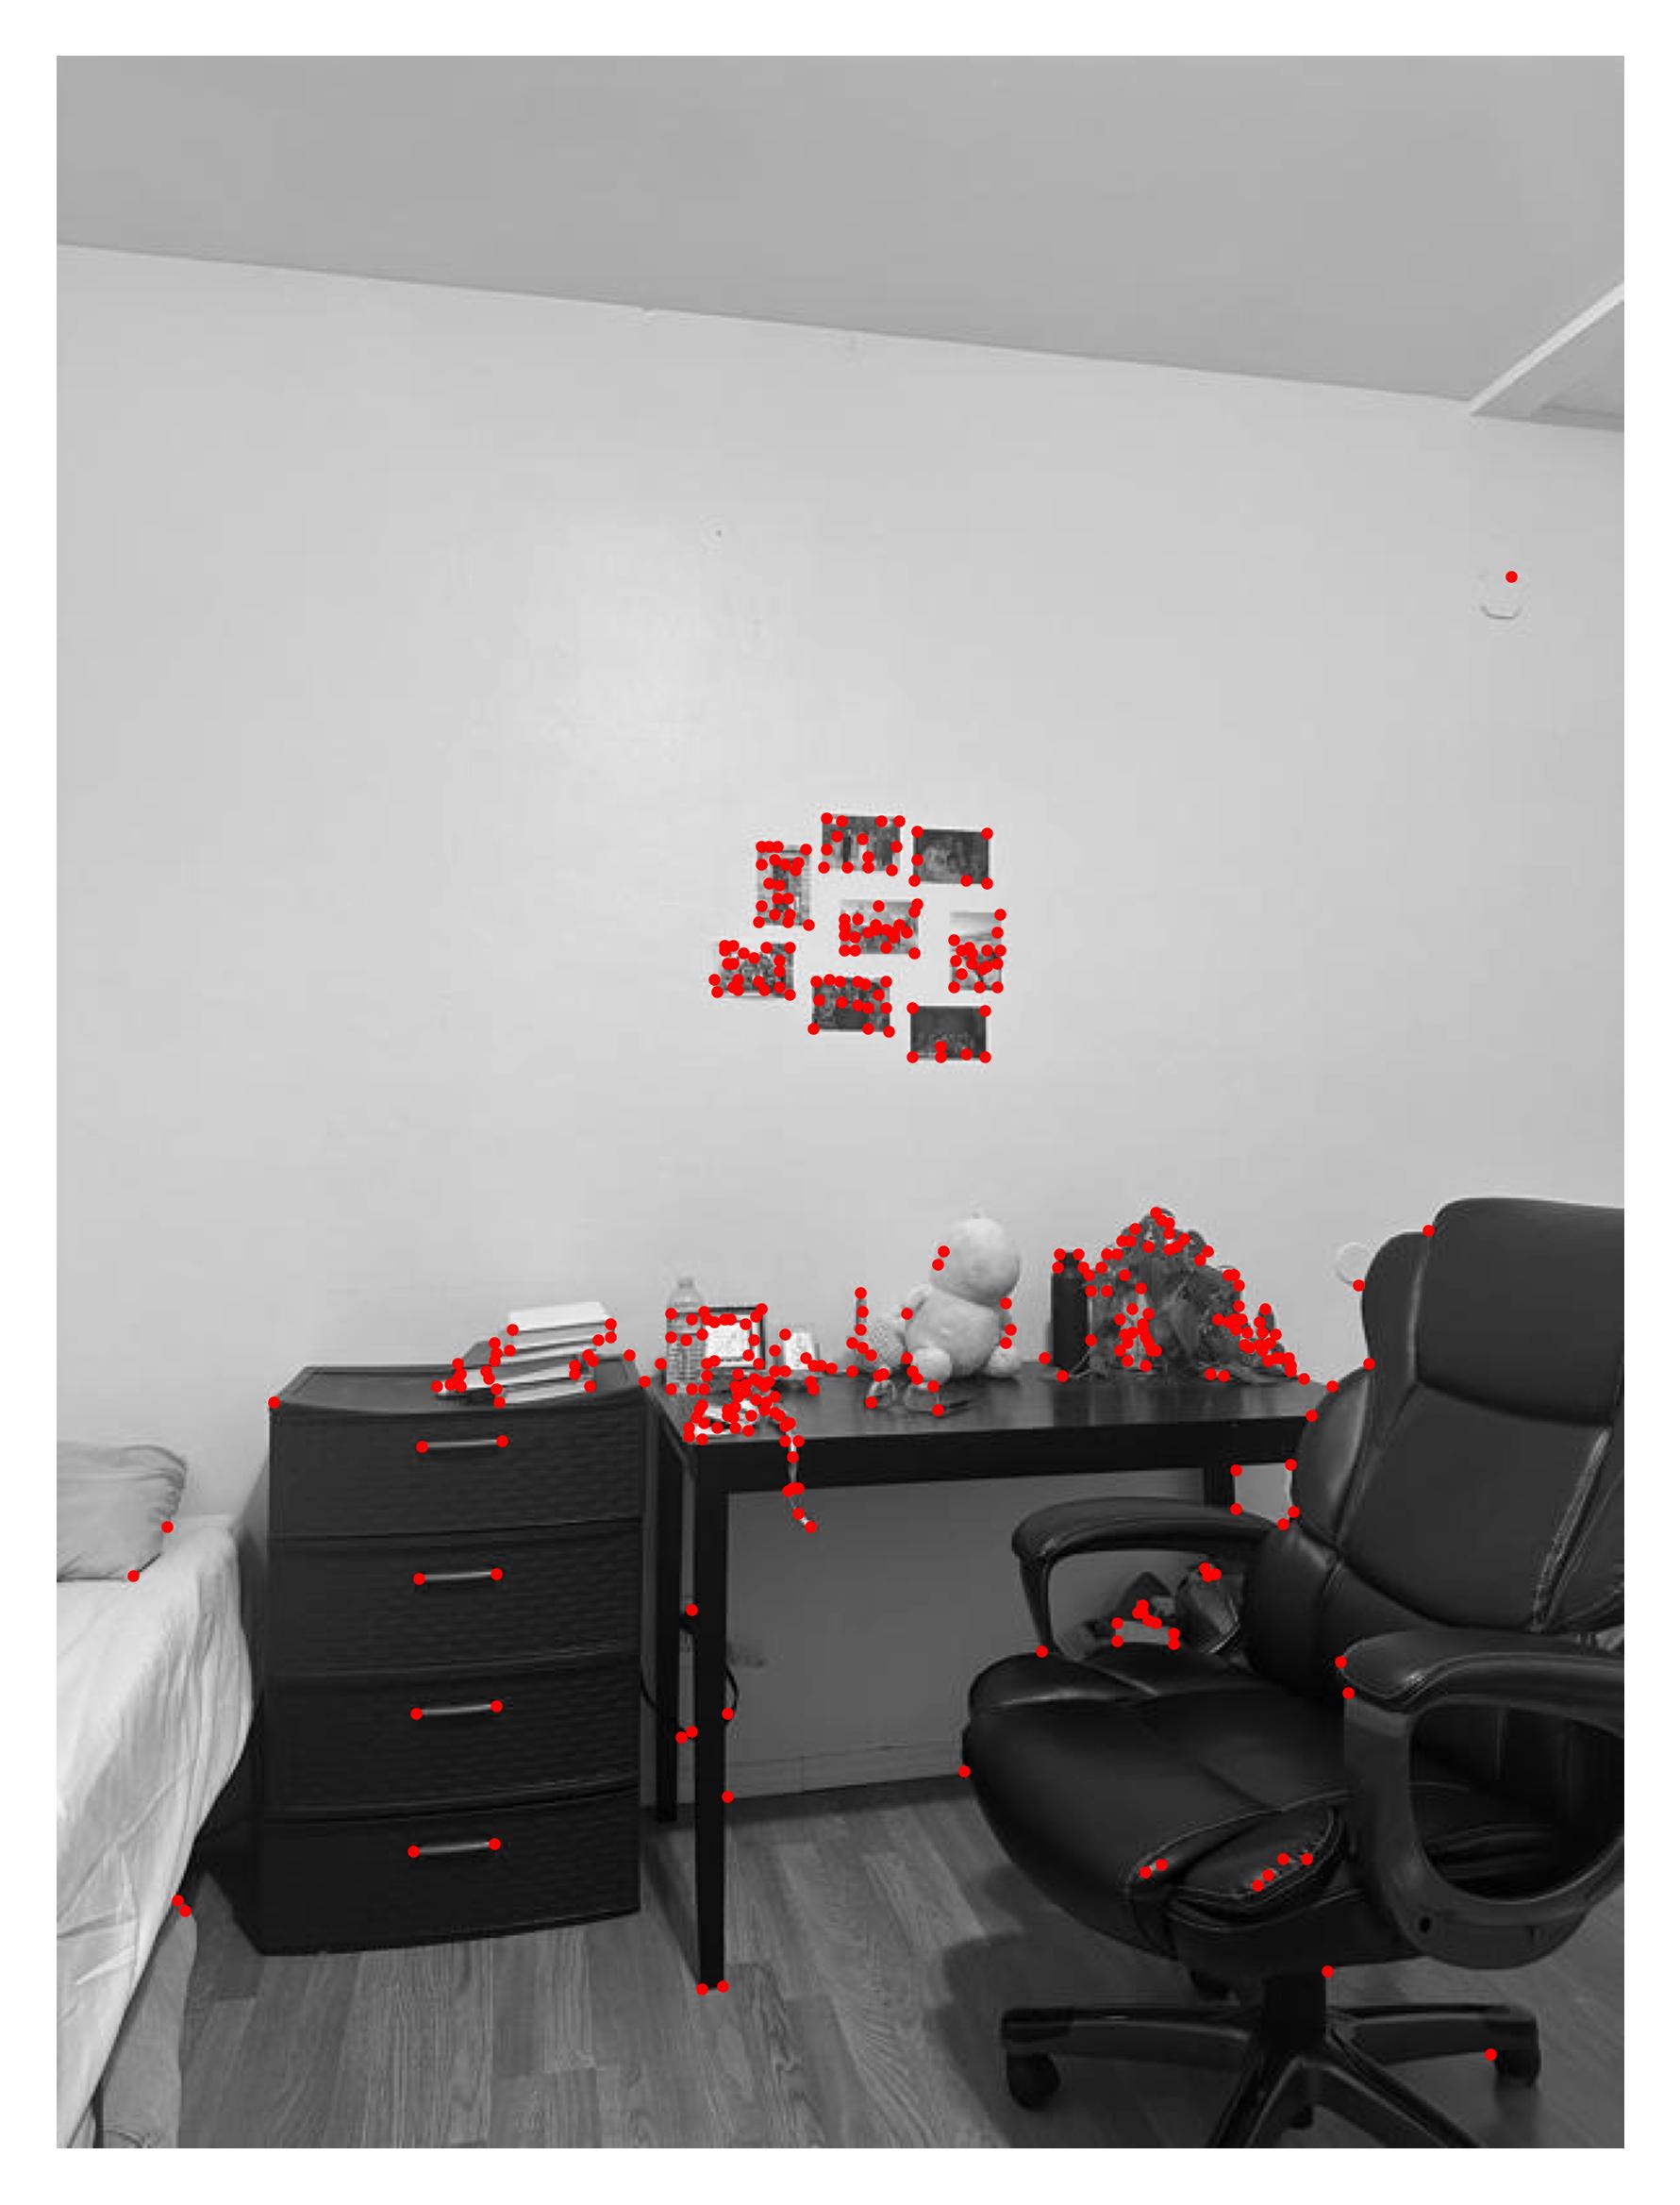
Room Harris Corners
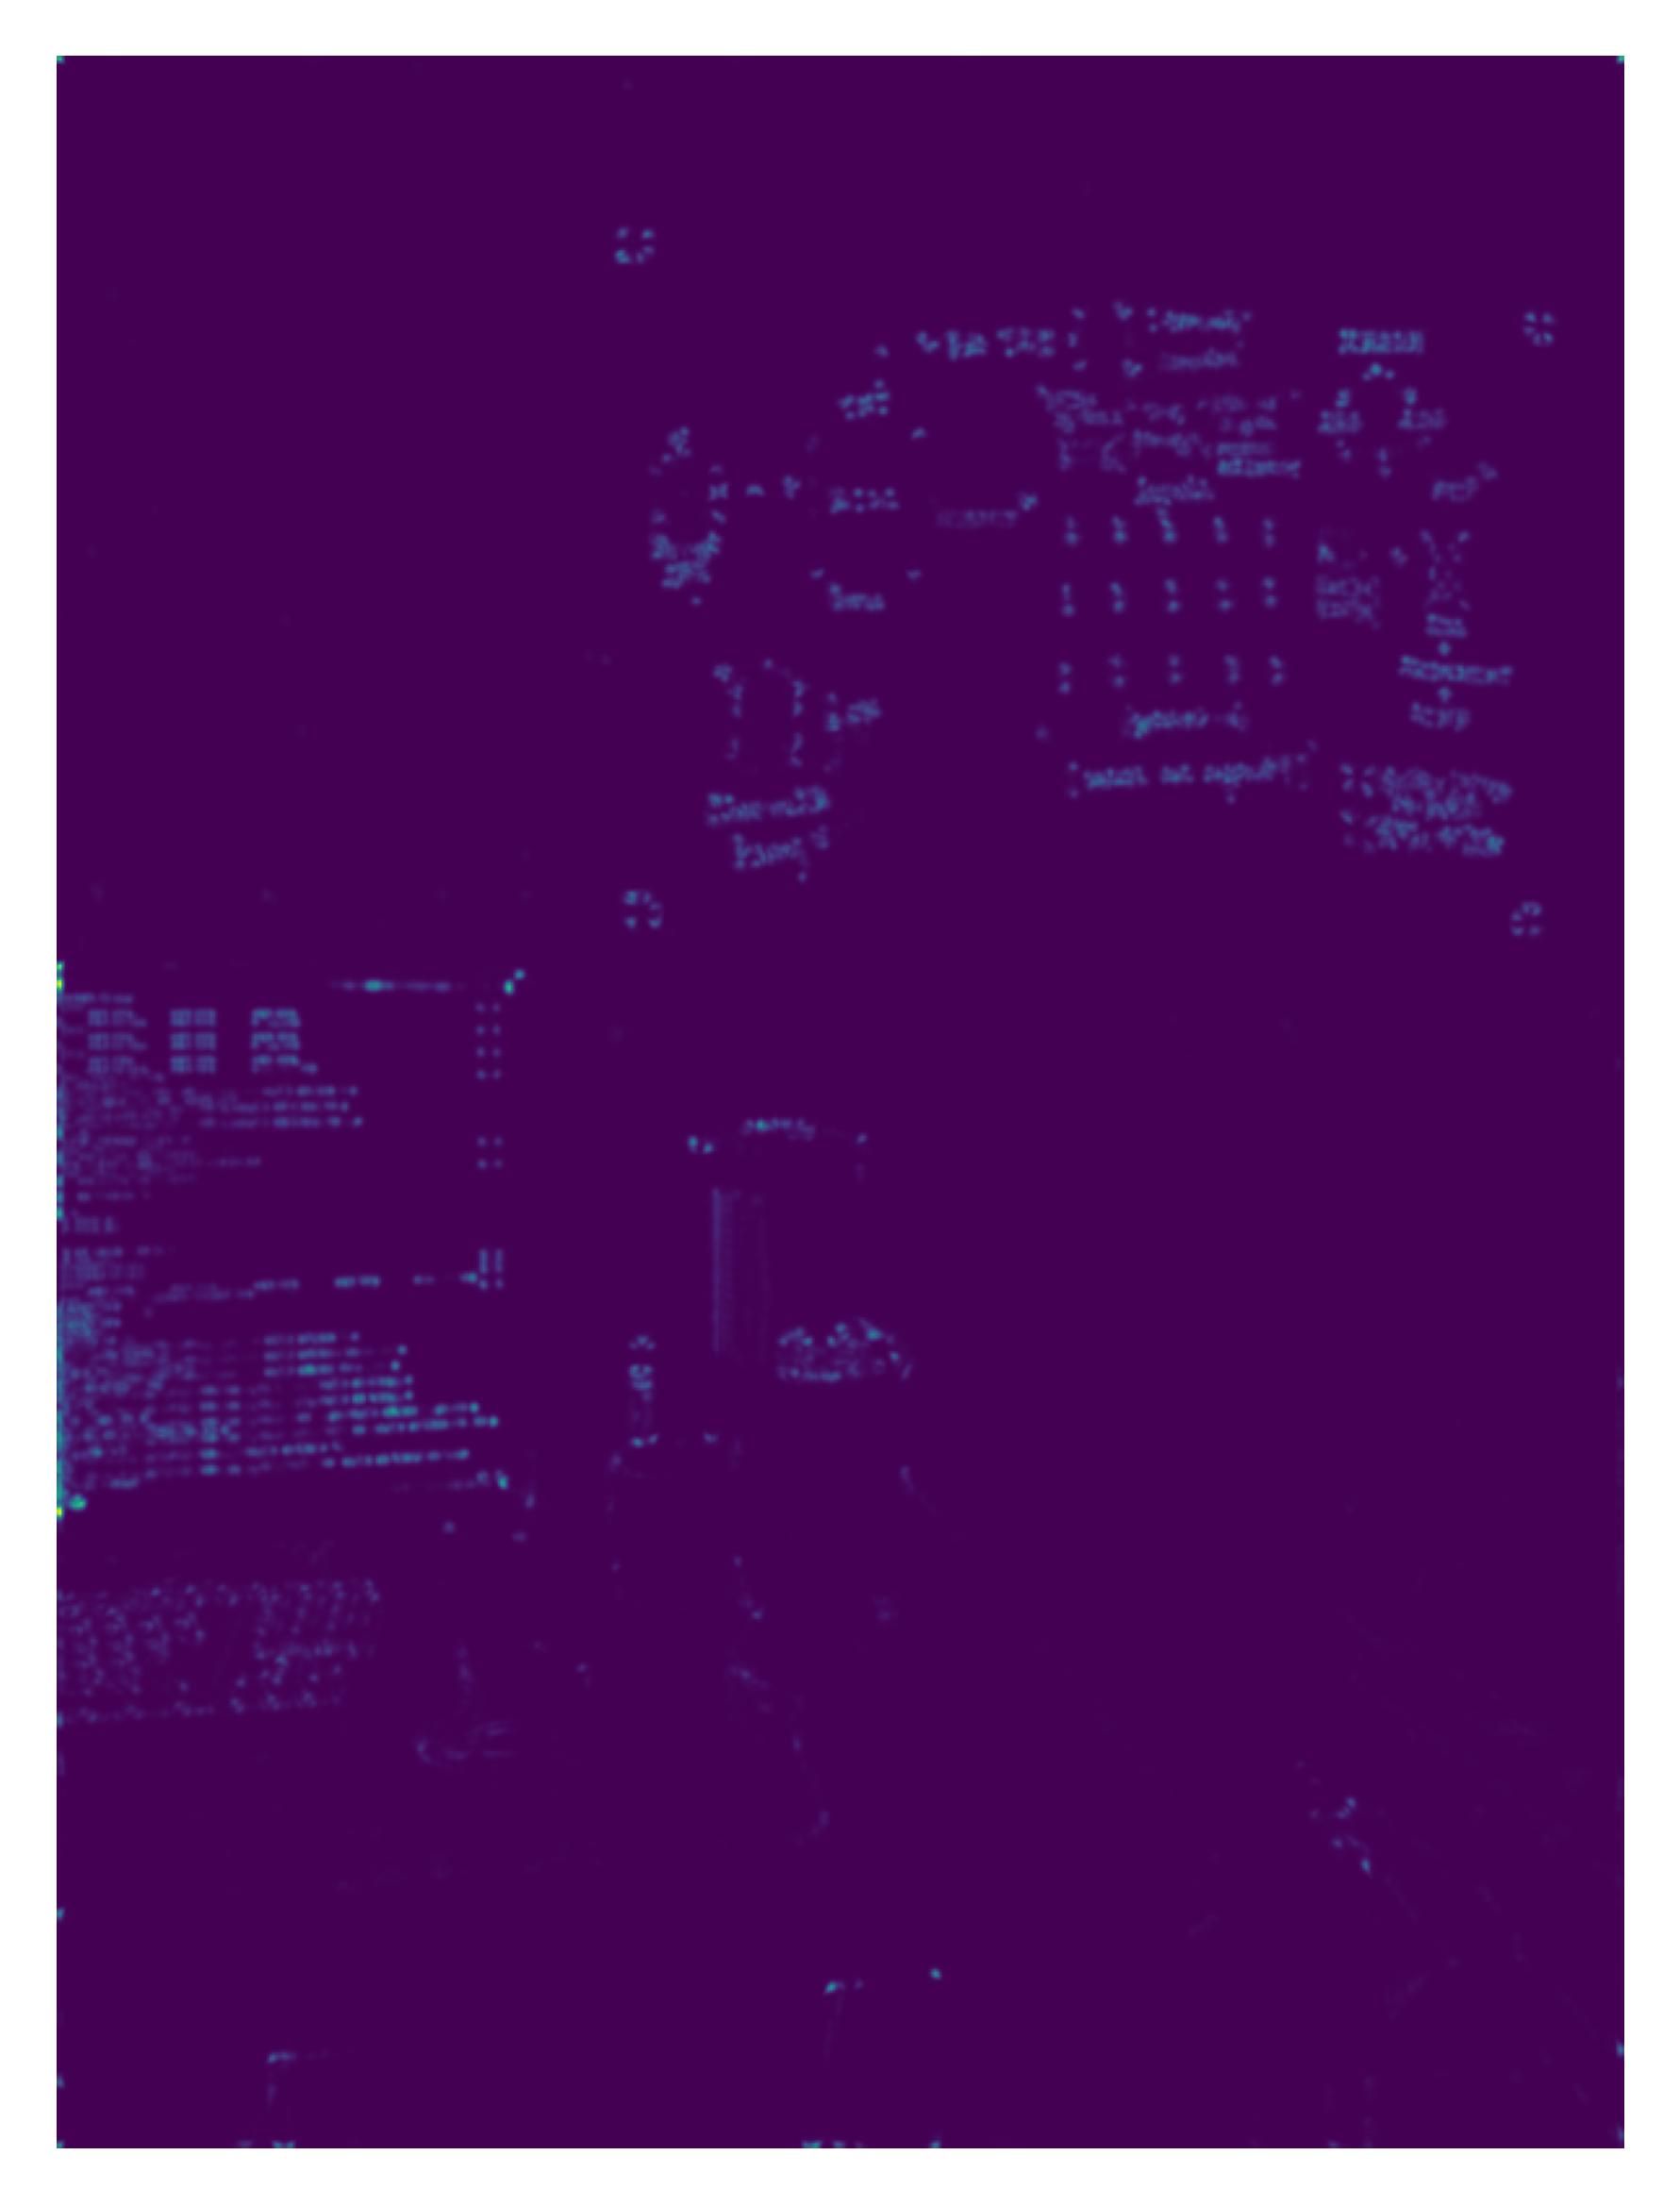
Desk Harris Strength
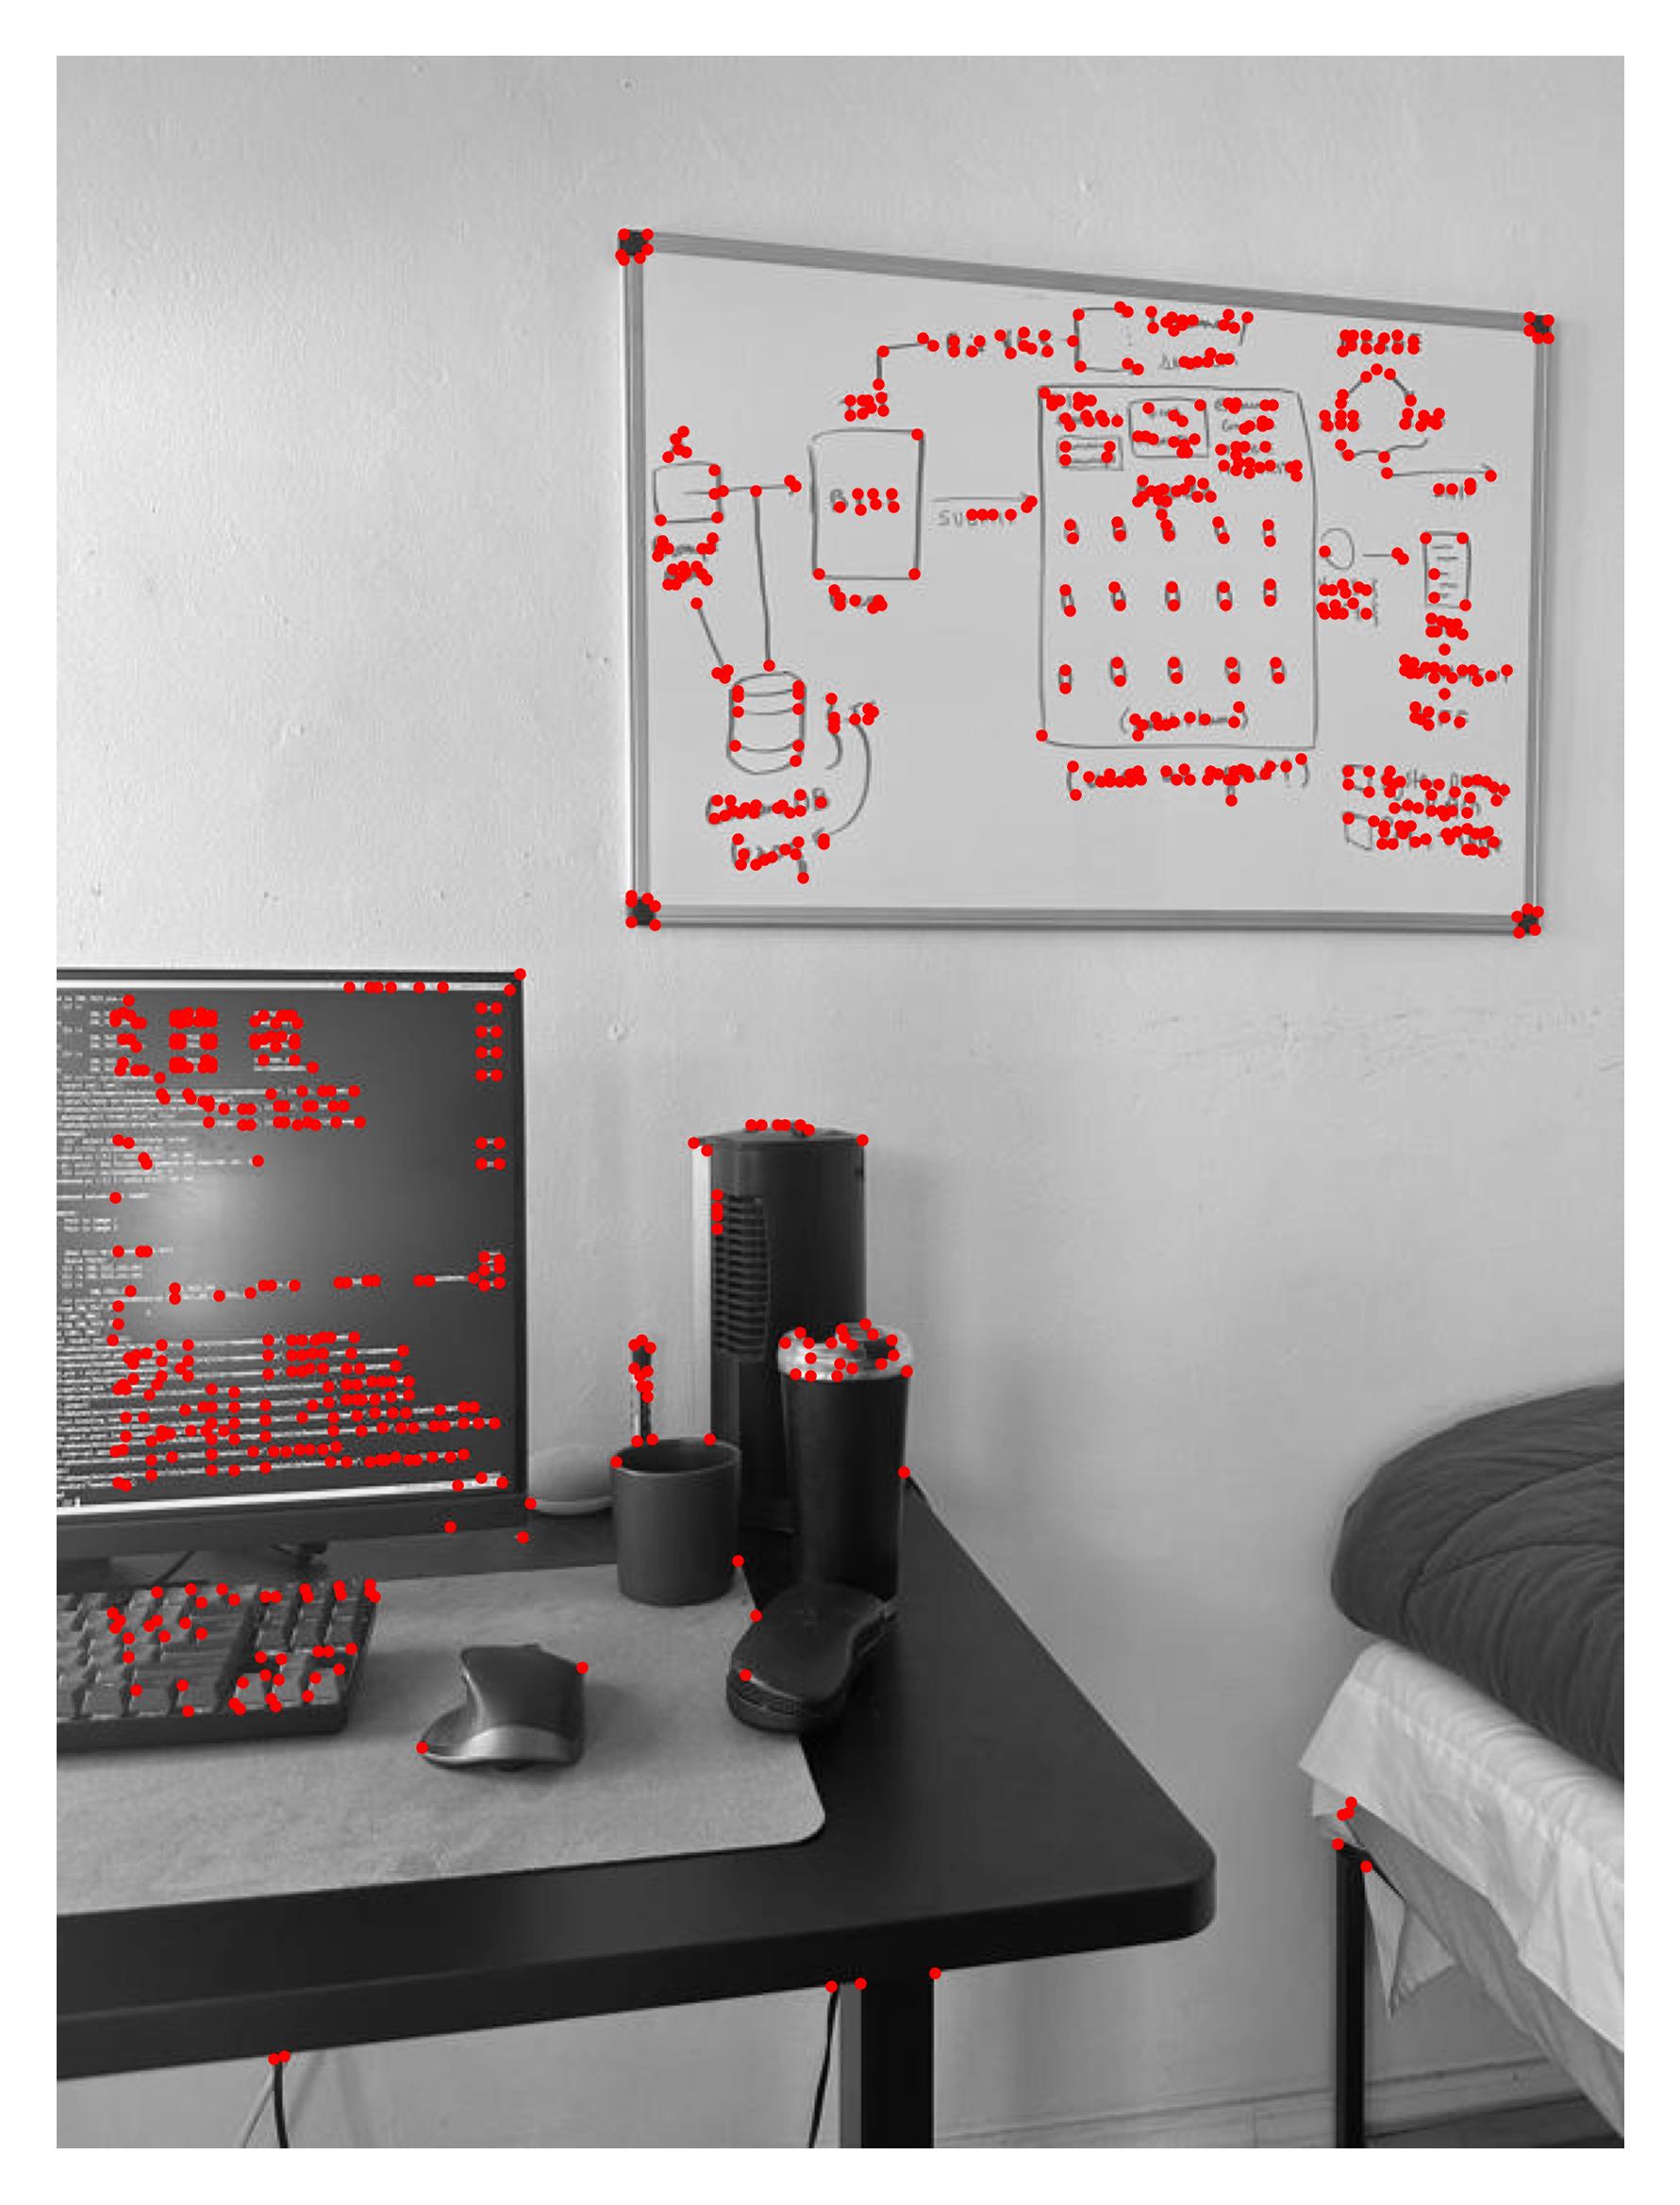
Desk Harris Corners
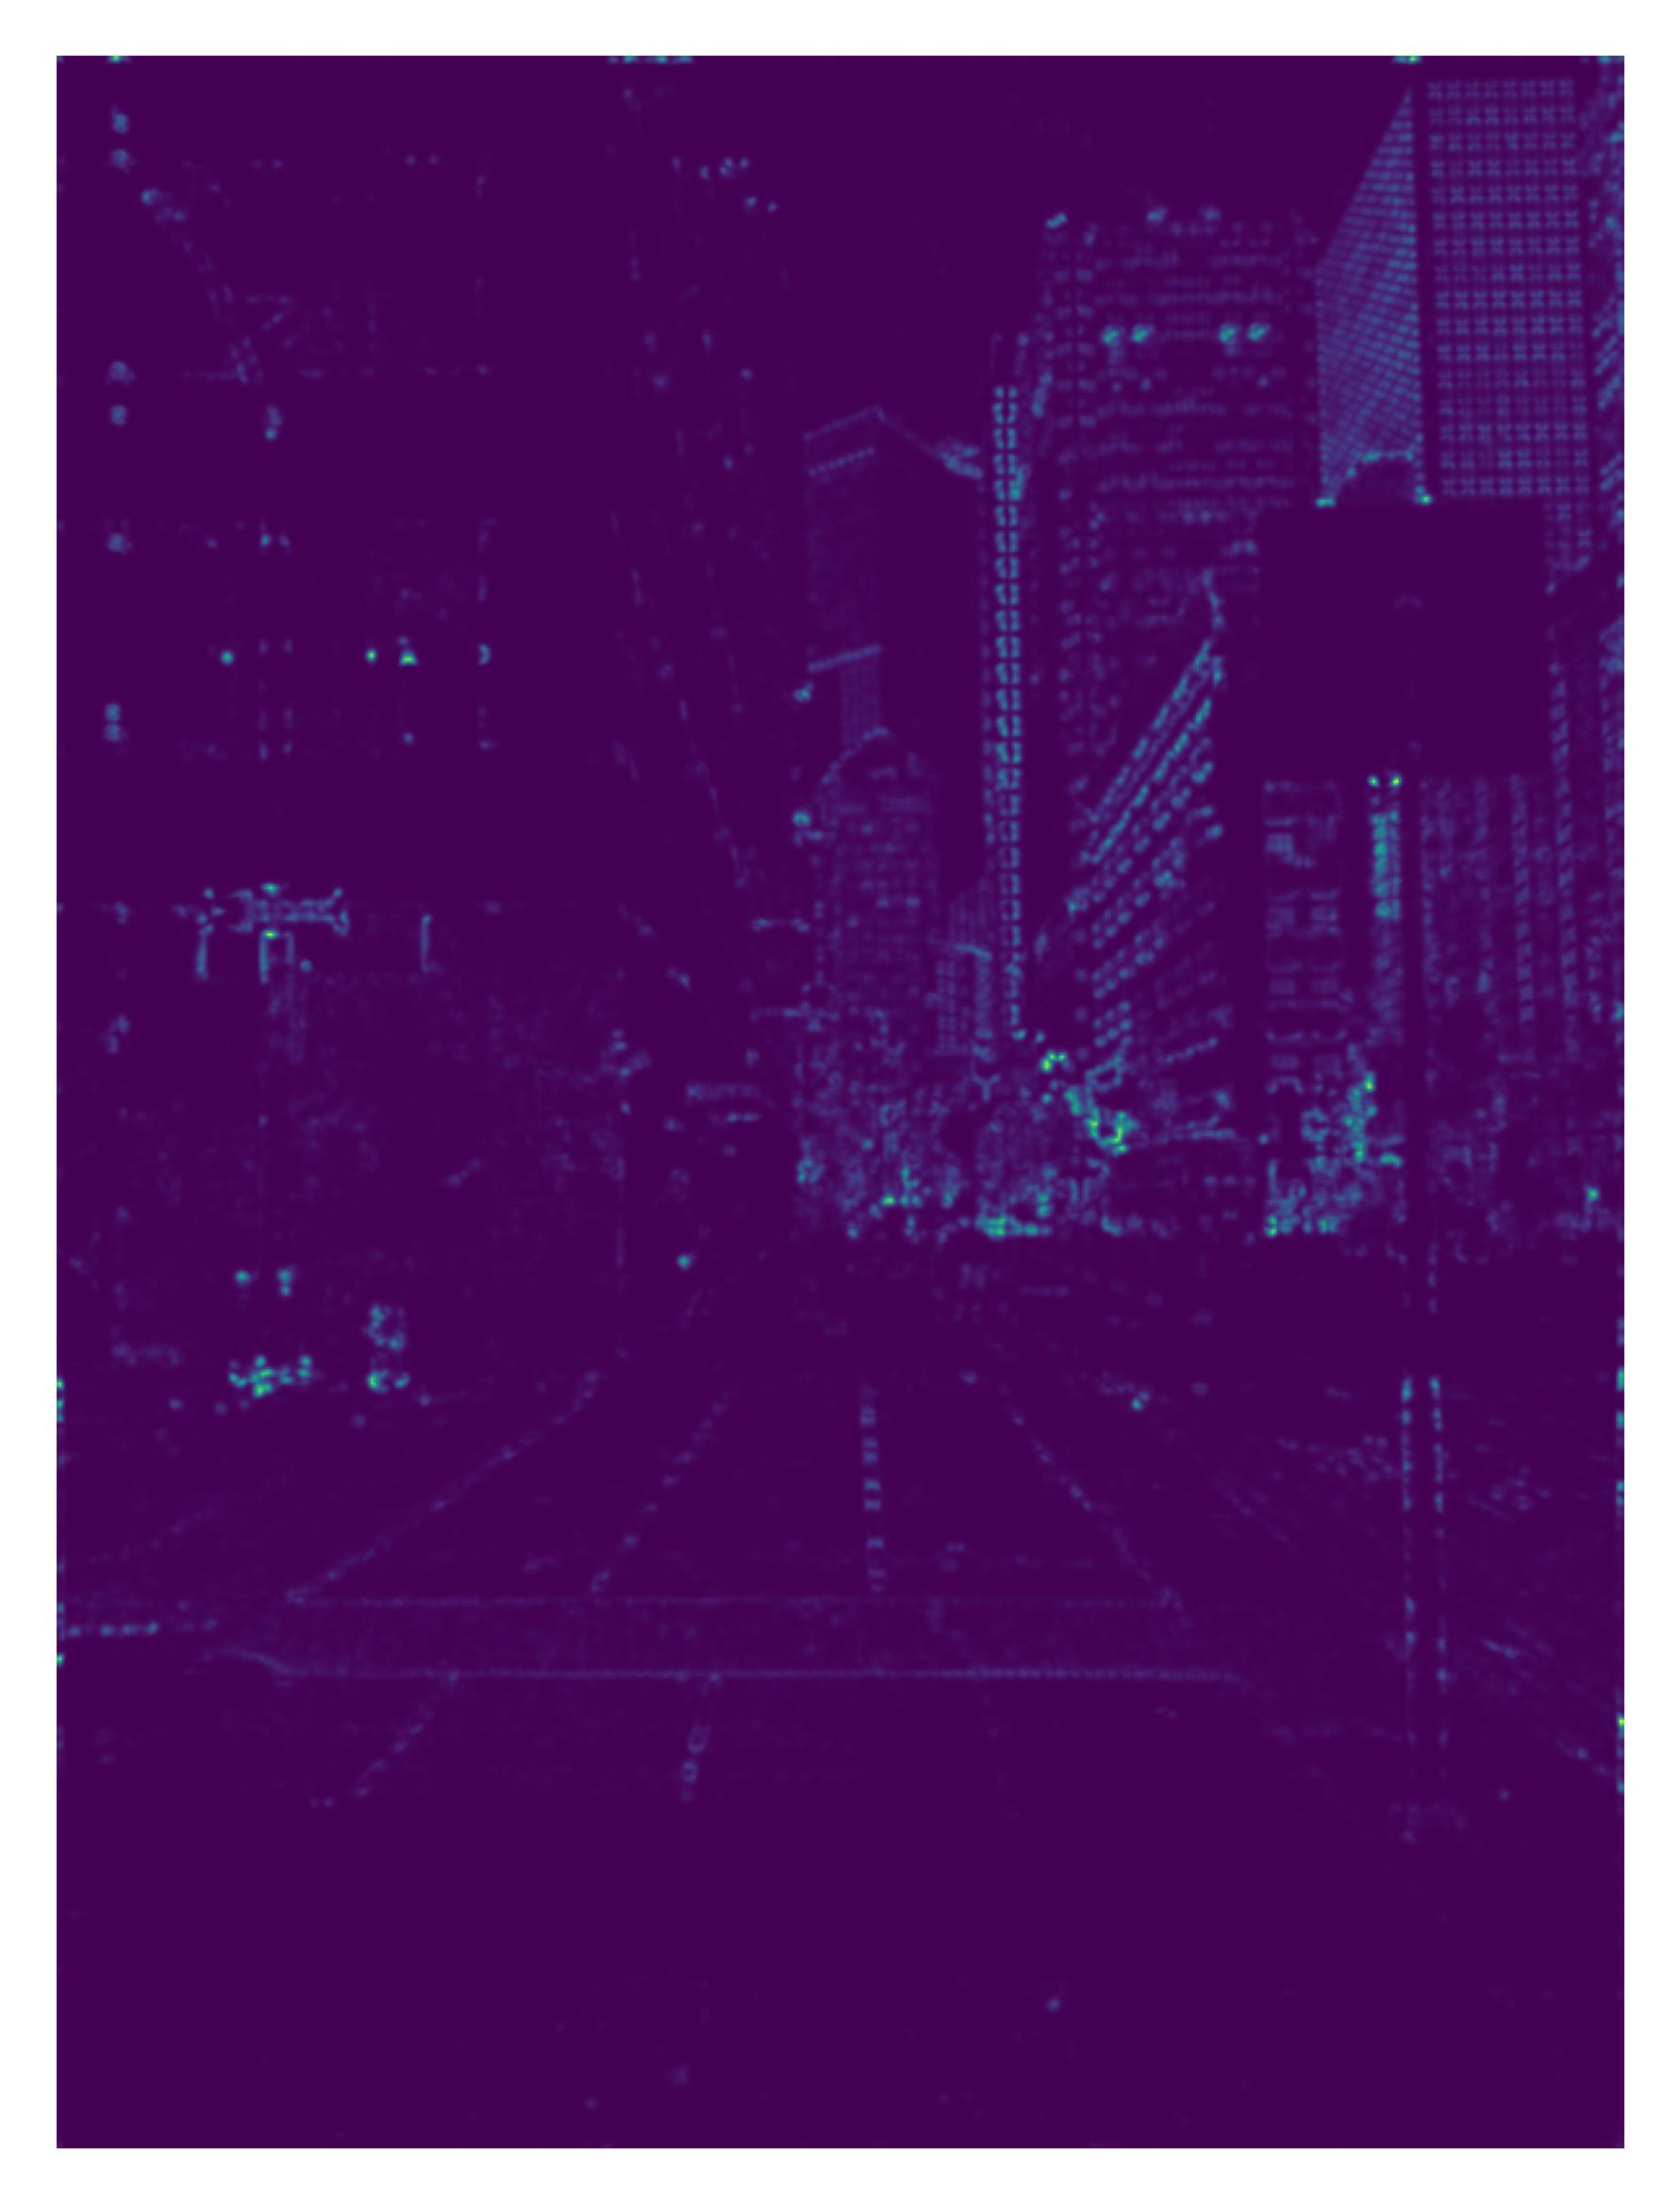
SF Harris Strength
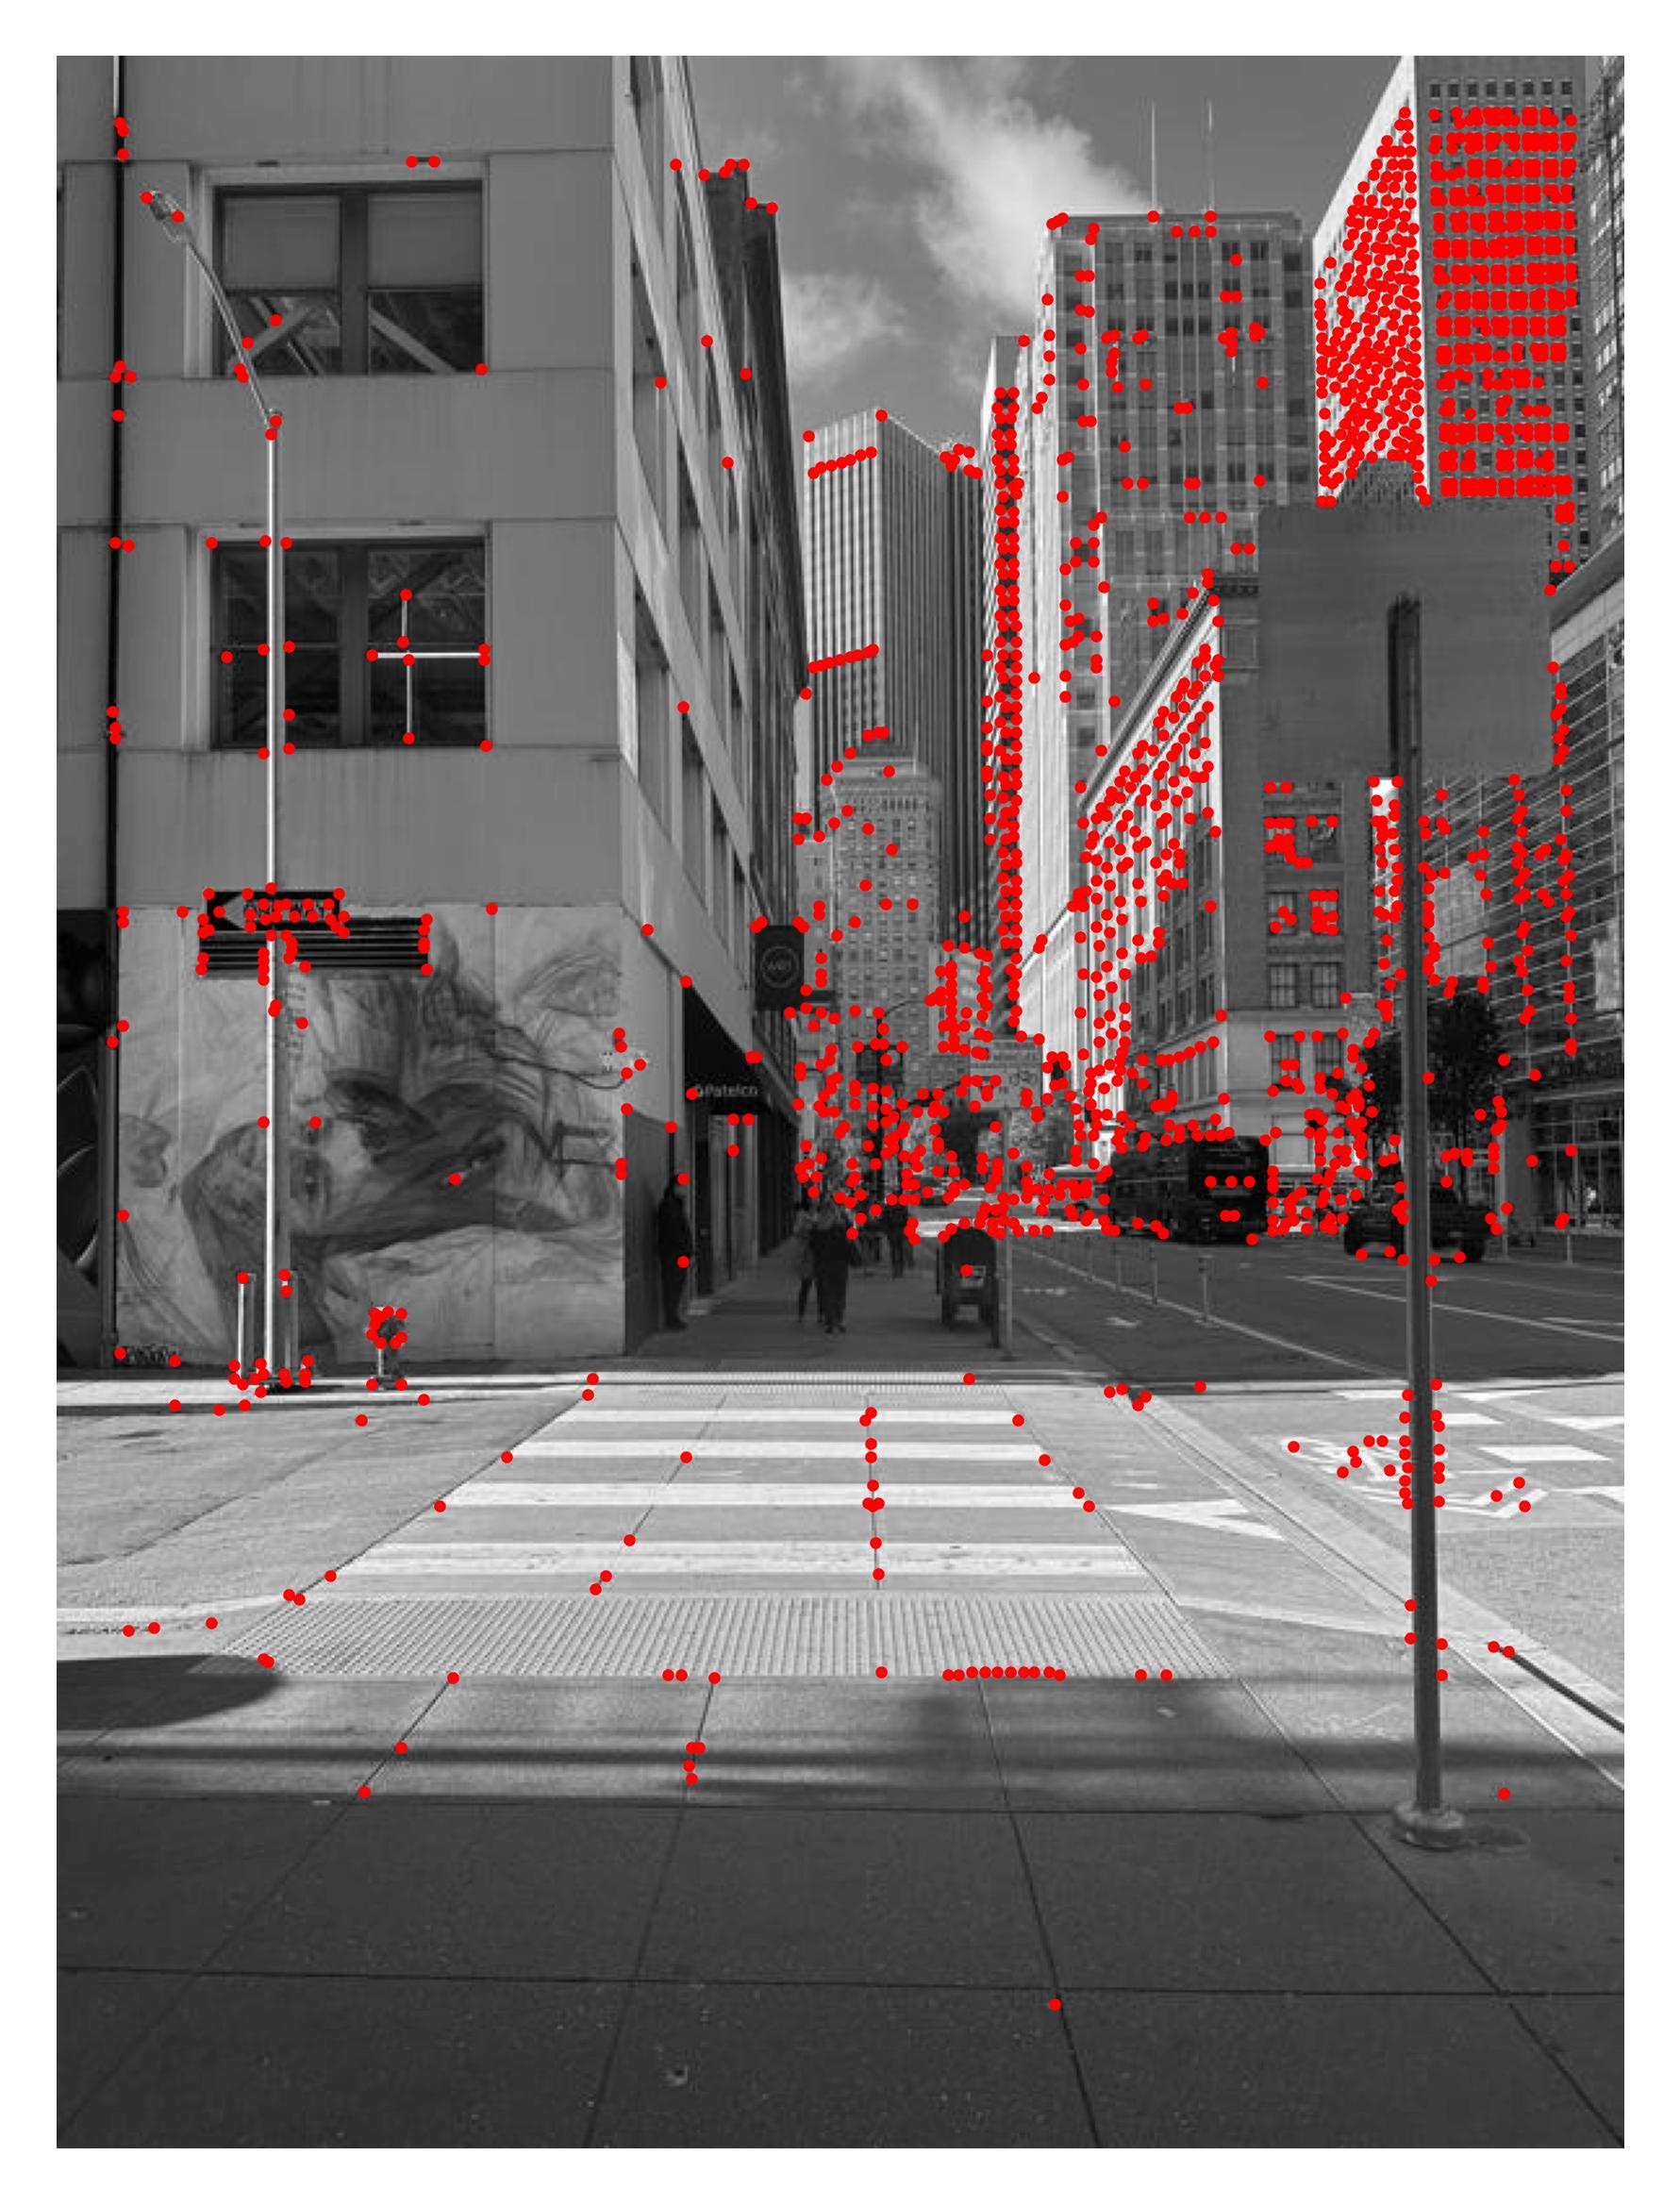
SF Harris Corners
However, we want to reduce the number of keypoints to a manageable and well-distributed amount. For this, we use the Adaptive Non-Maximal Suppression algorithm. We follow the provided paper, and first sort the keypoints by strength. We set every point's radius to infinity, and then iterate through the points. For each point, we find the distance to the next strongest point. If this distance is less than the current point's radius, we update the radius to this distance. After this, we sort the points by radius and take the top $n$ points. Here is an example:

SF Harris
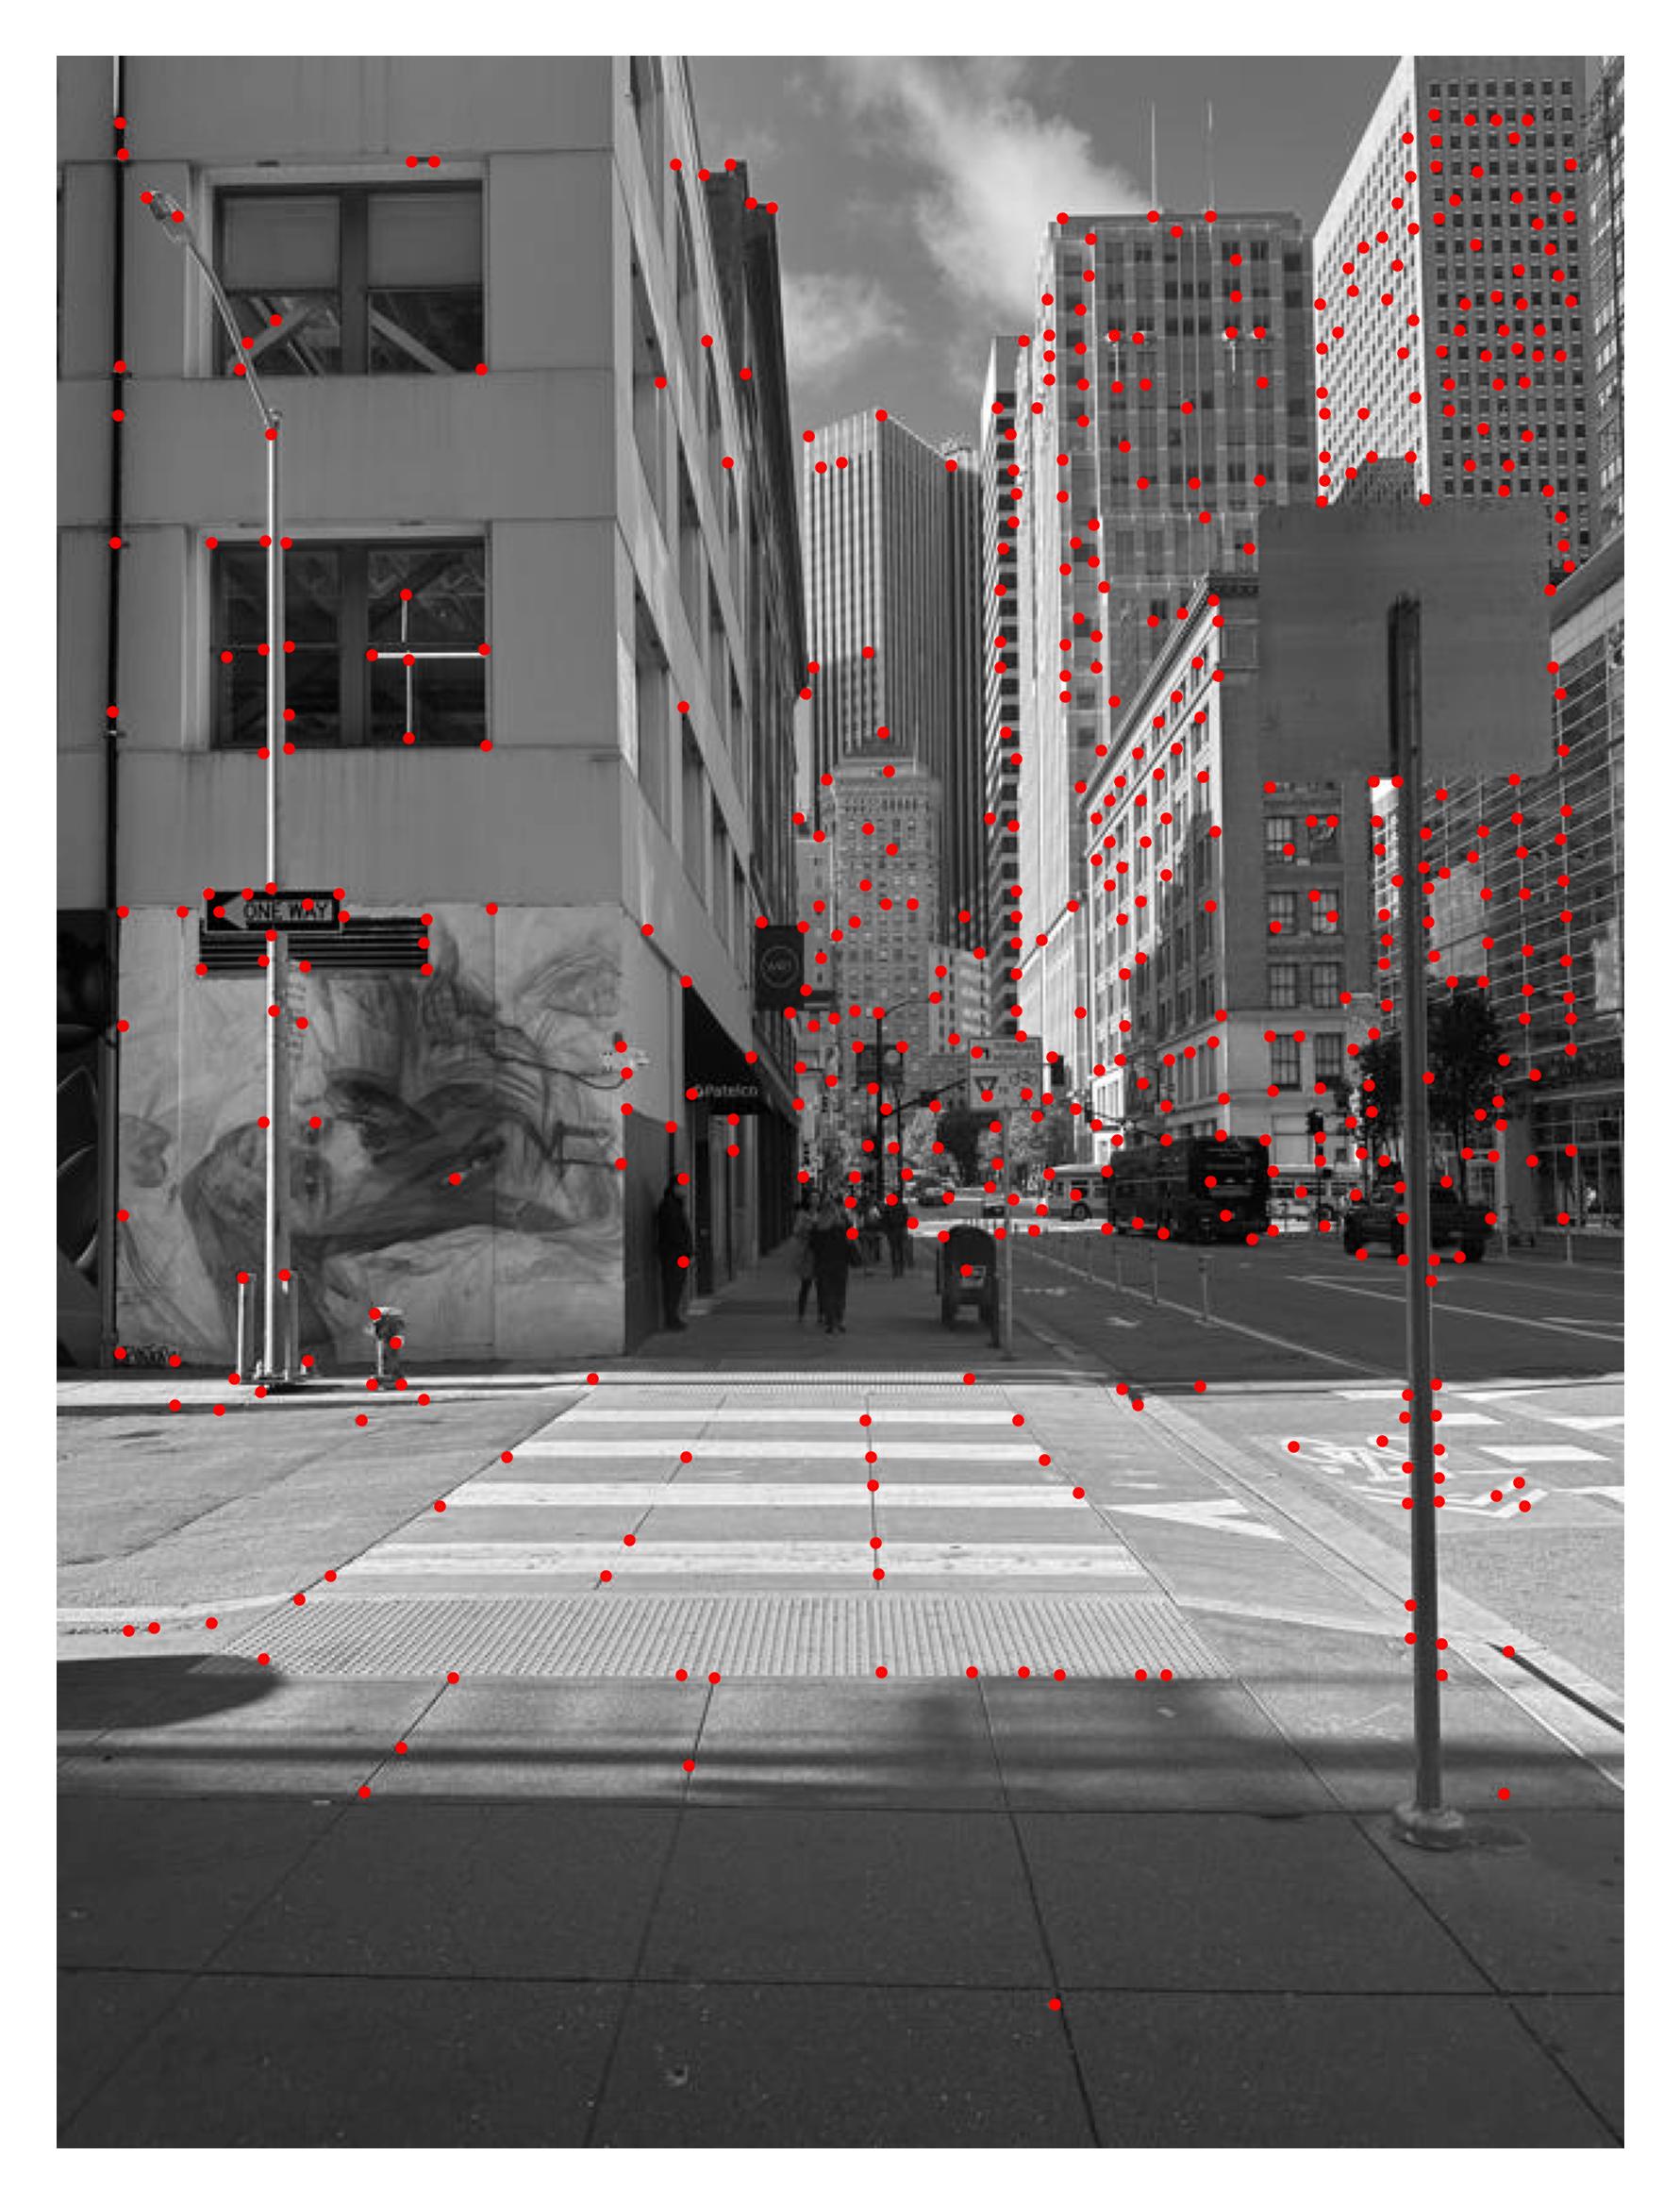
SF ANMS
However, keypoints from one image are not matched to keypoints from another image. To do this matching, we need some way to compare the keypoints. We use patch-matching using $\ell_2$ distance. We take a 40x40 patch around each keypoint, and scale it to 8x8 with normalization. We then compare the patches using the $\ell_2$ distance. We can then match the keypoints by finding the closest match in the other image. Here are examples of matched keypoints:
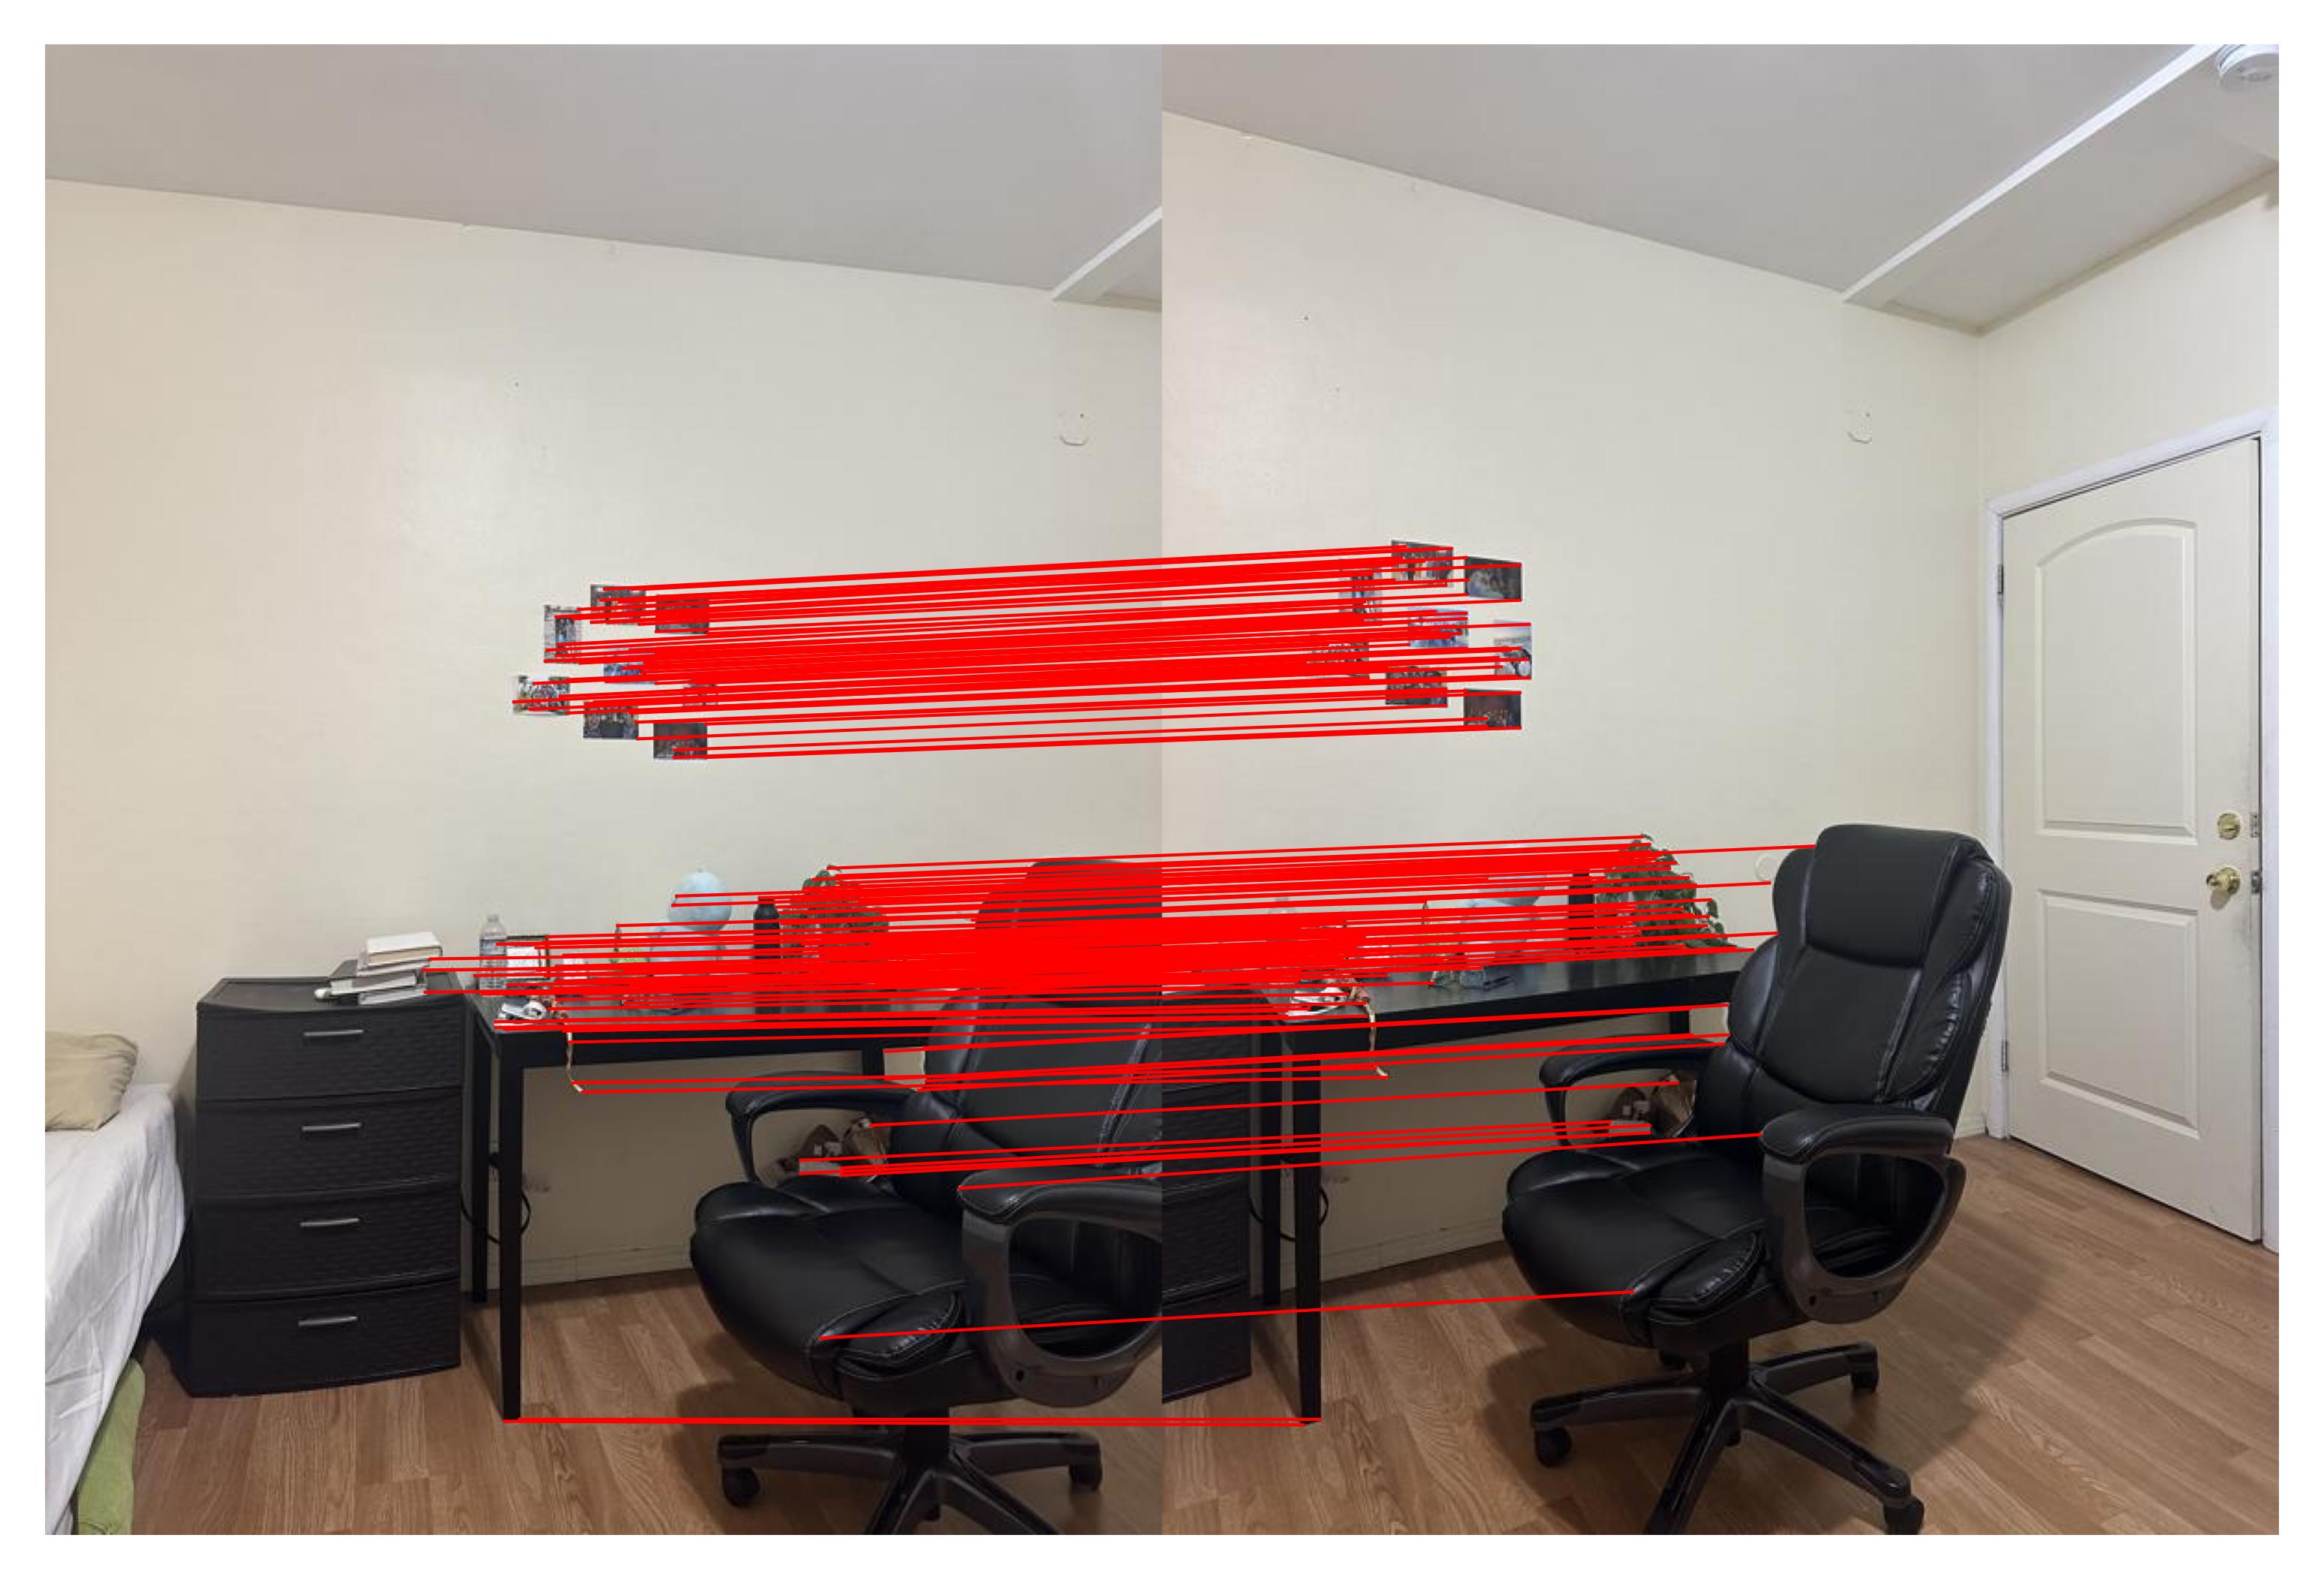
Room Feature Matches
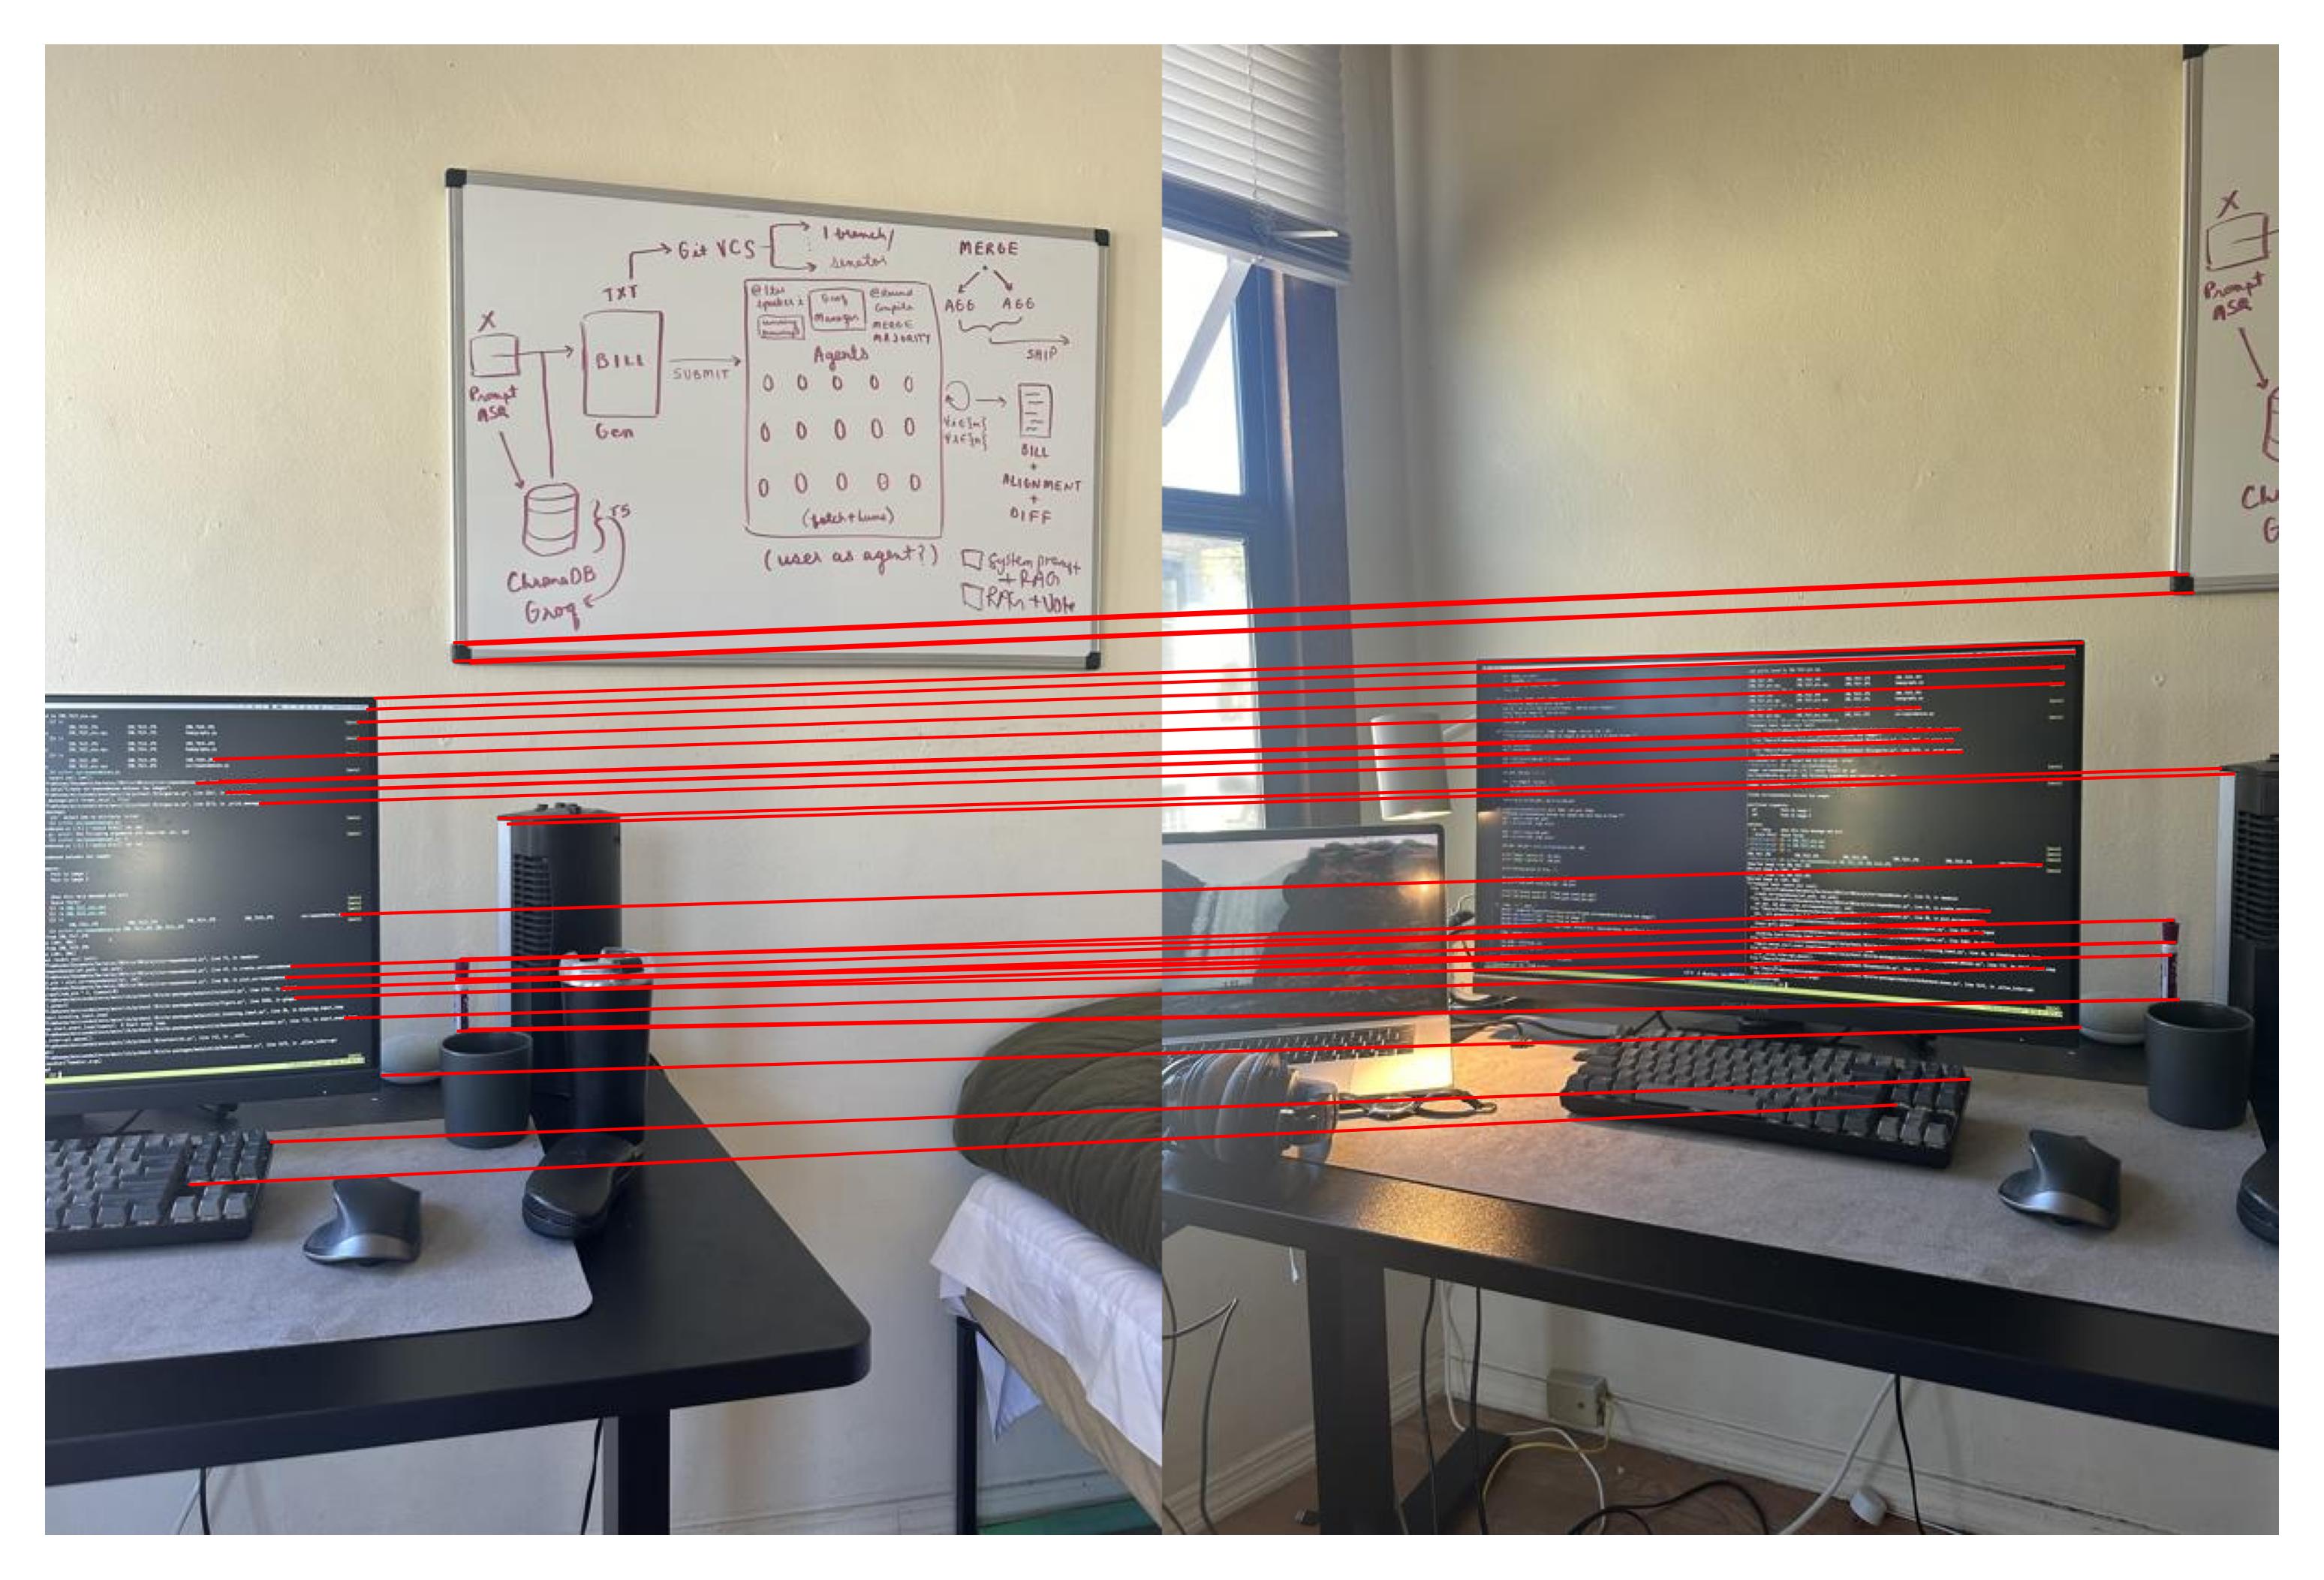
Desk Feature Matches
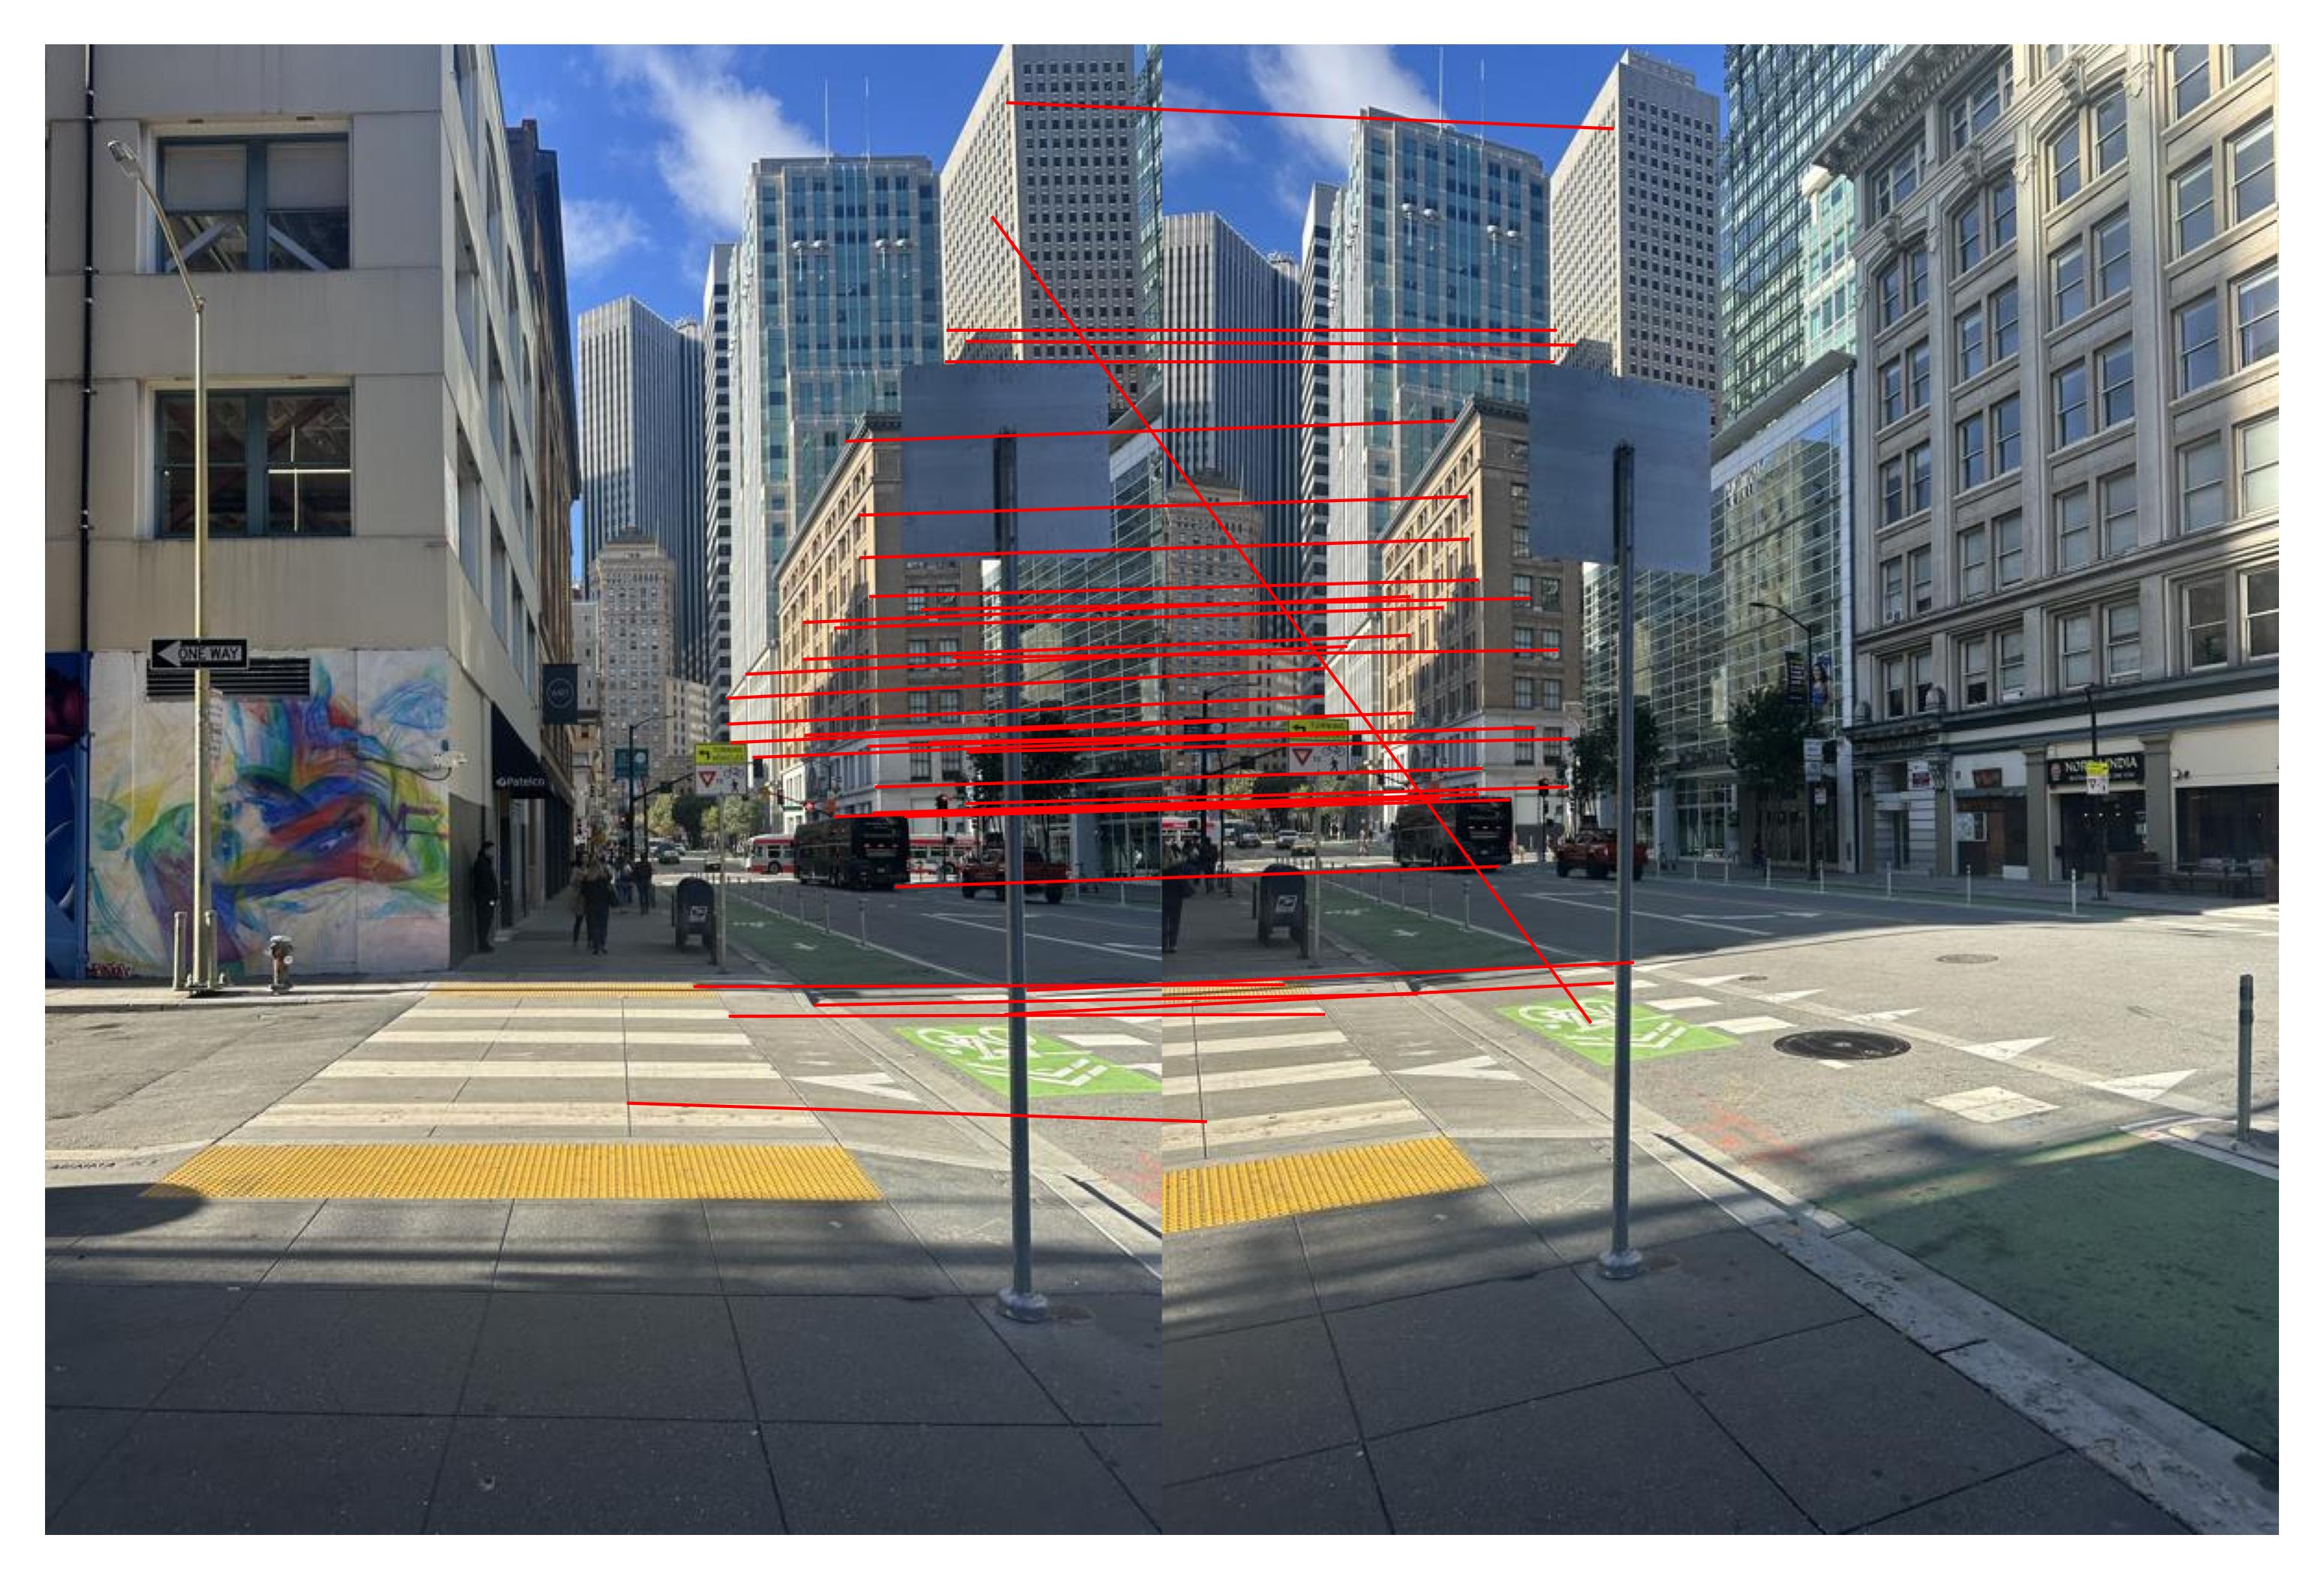
SF Feature Matches
We already see an issue! Some of the matches in SF are incorrect. To ensure robust matching, we use the RANSAC algorithm. We randomly select 4 matches and compute the homography between them. We then find the number of inliers by checking the number of matches that are within a threshold of the transformed point. We repeat this process for a number of iterations, and take the homography with the most inliers. Here are the results:
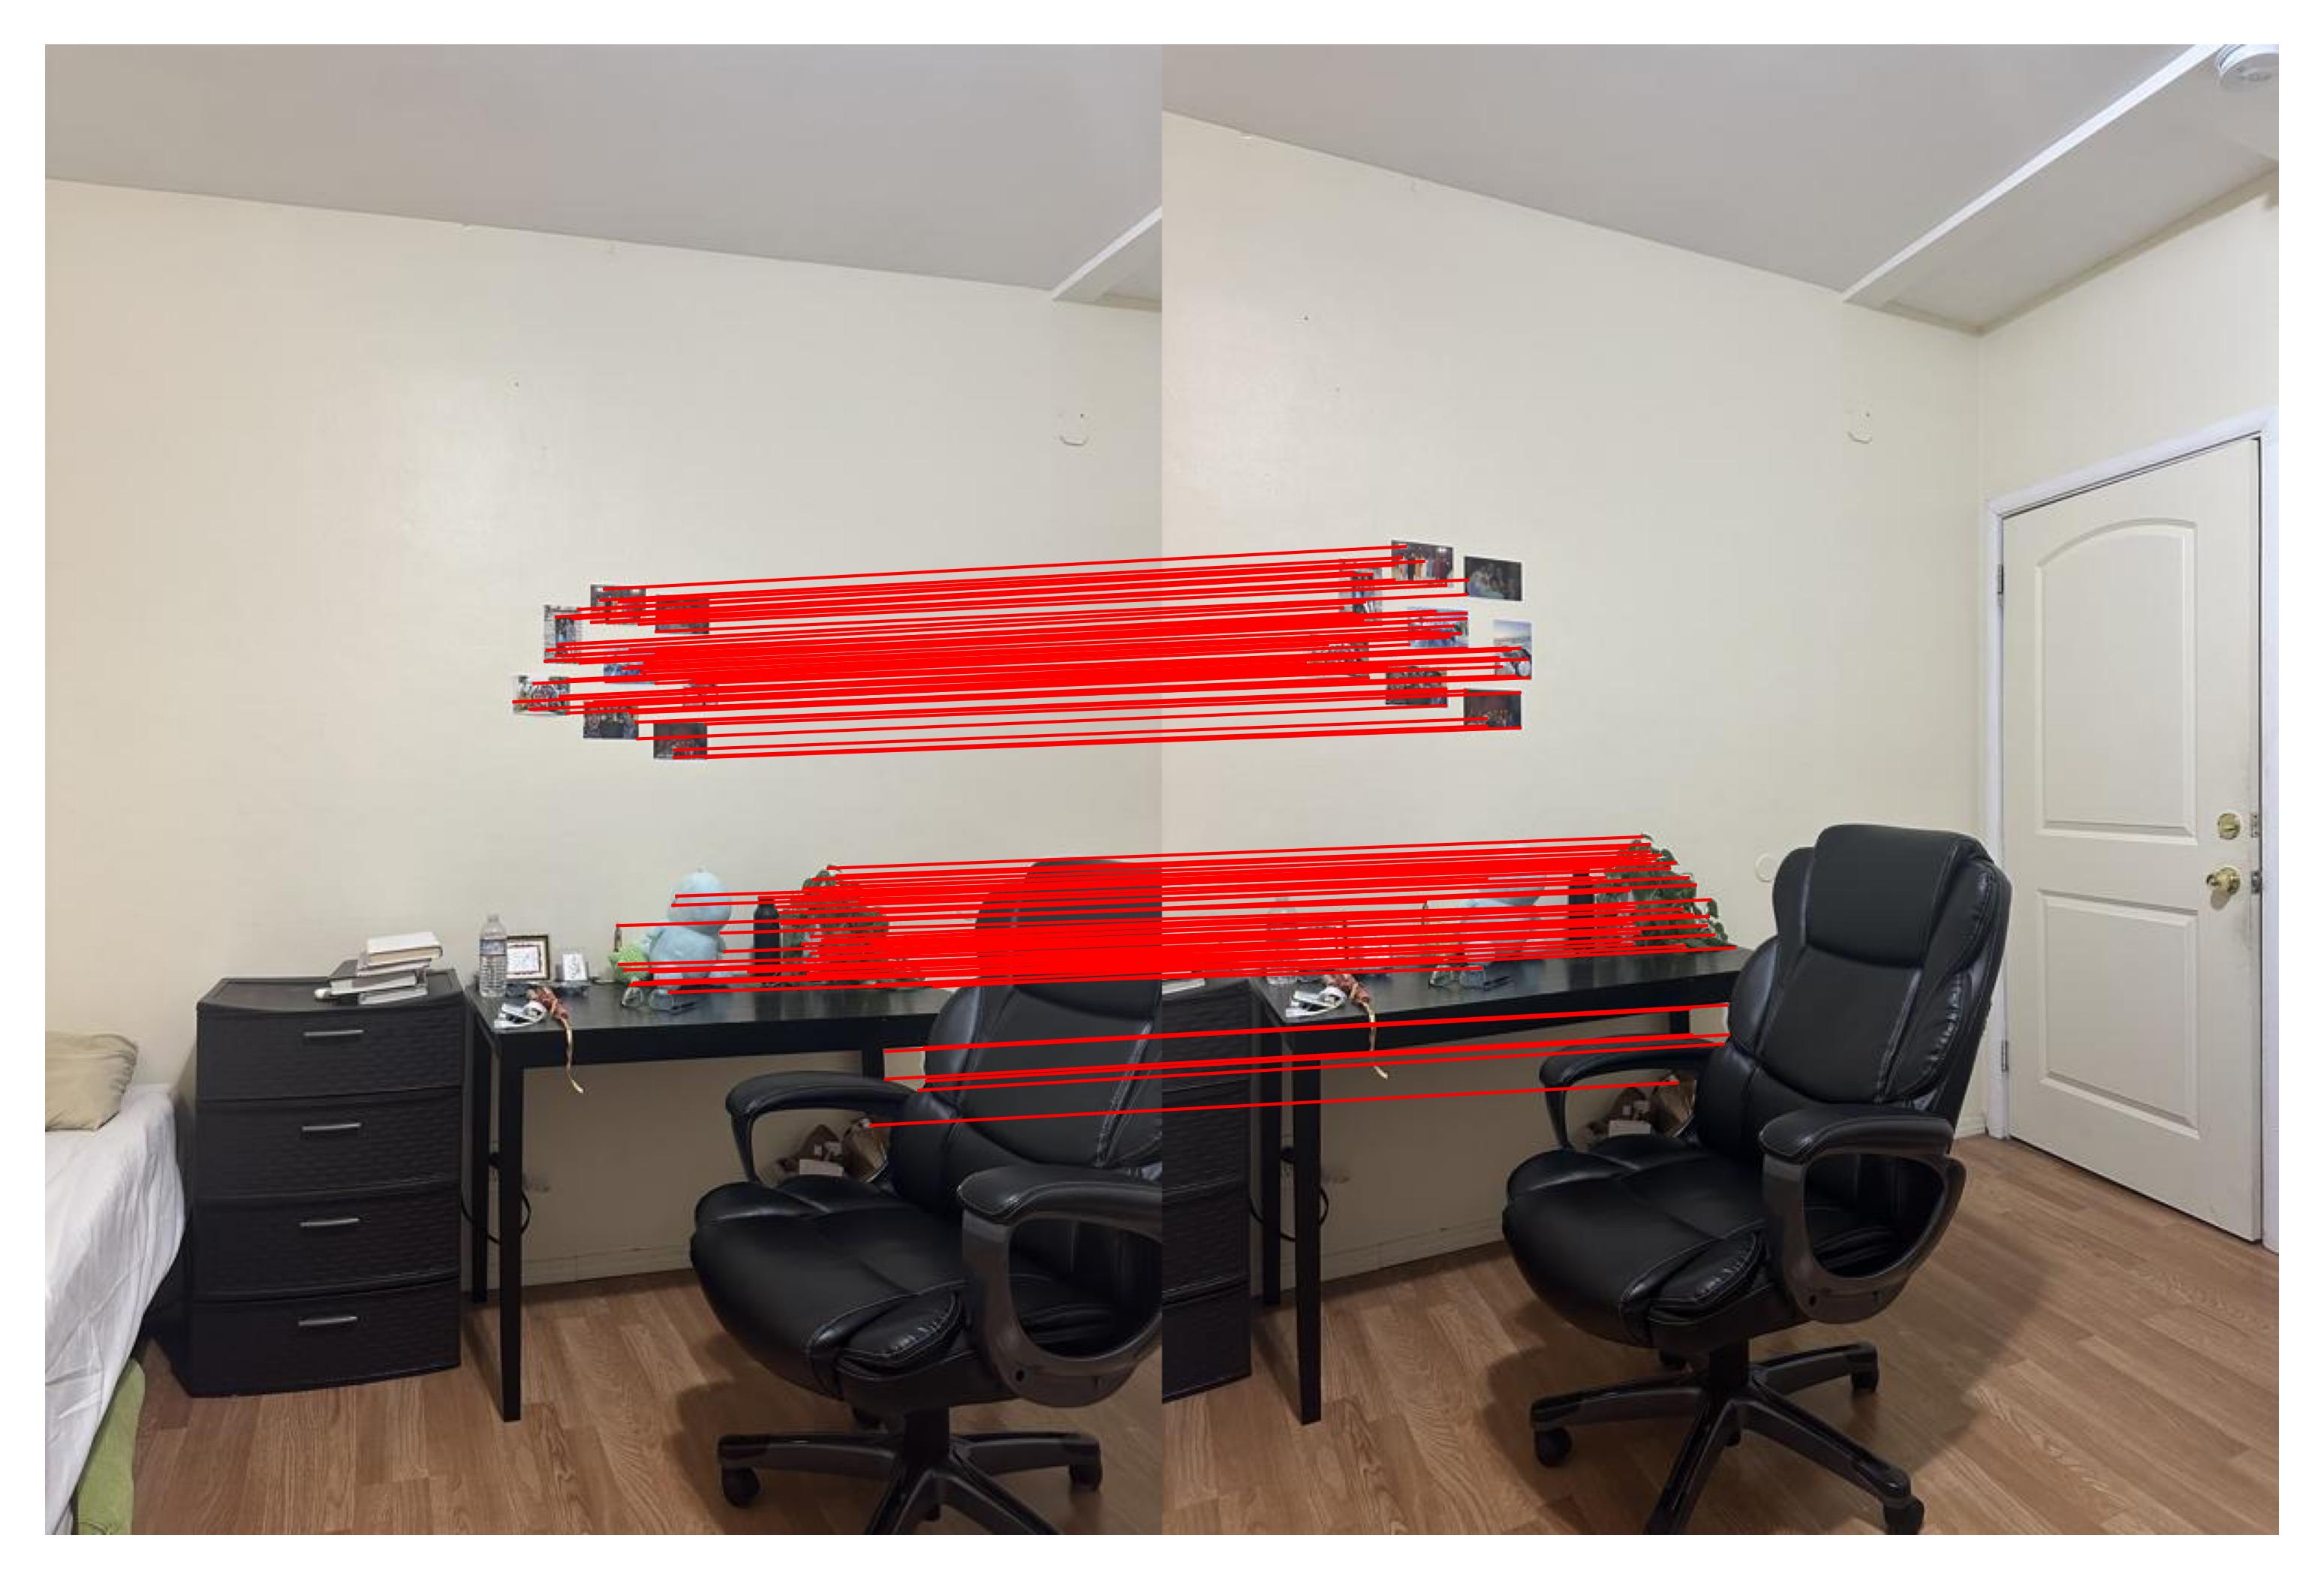
Room RANSAC Matches
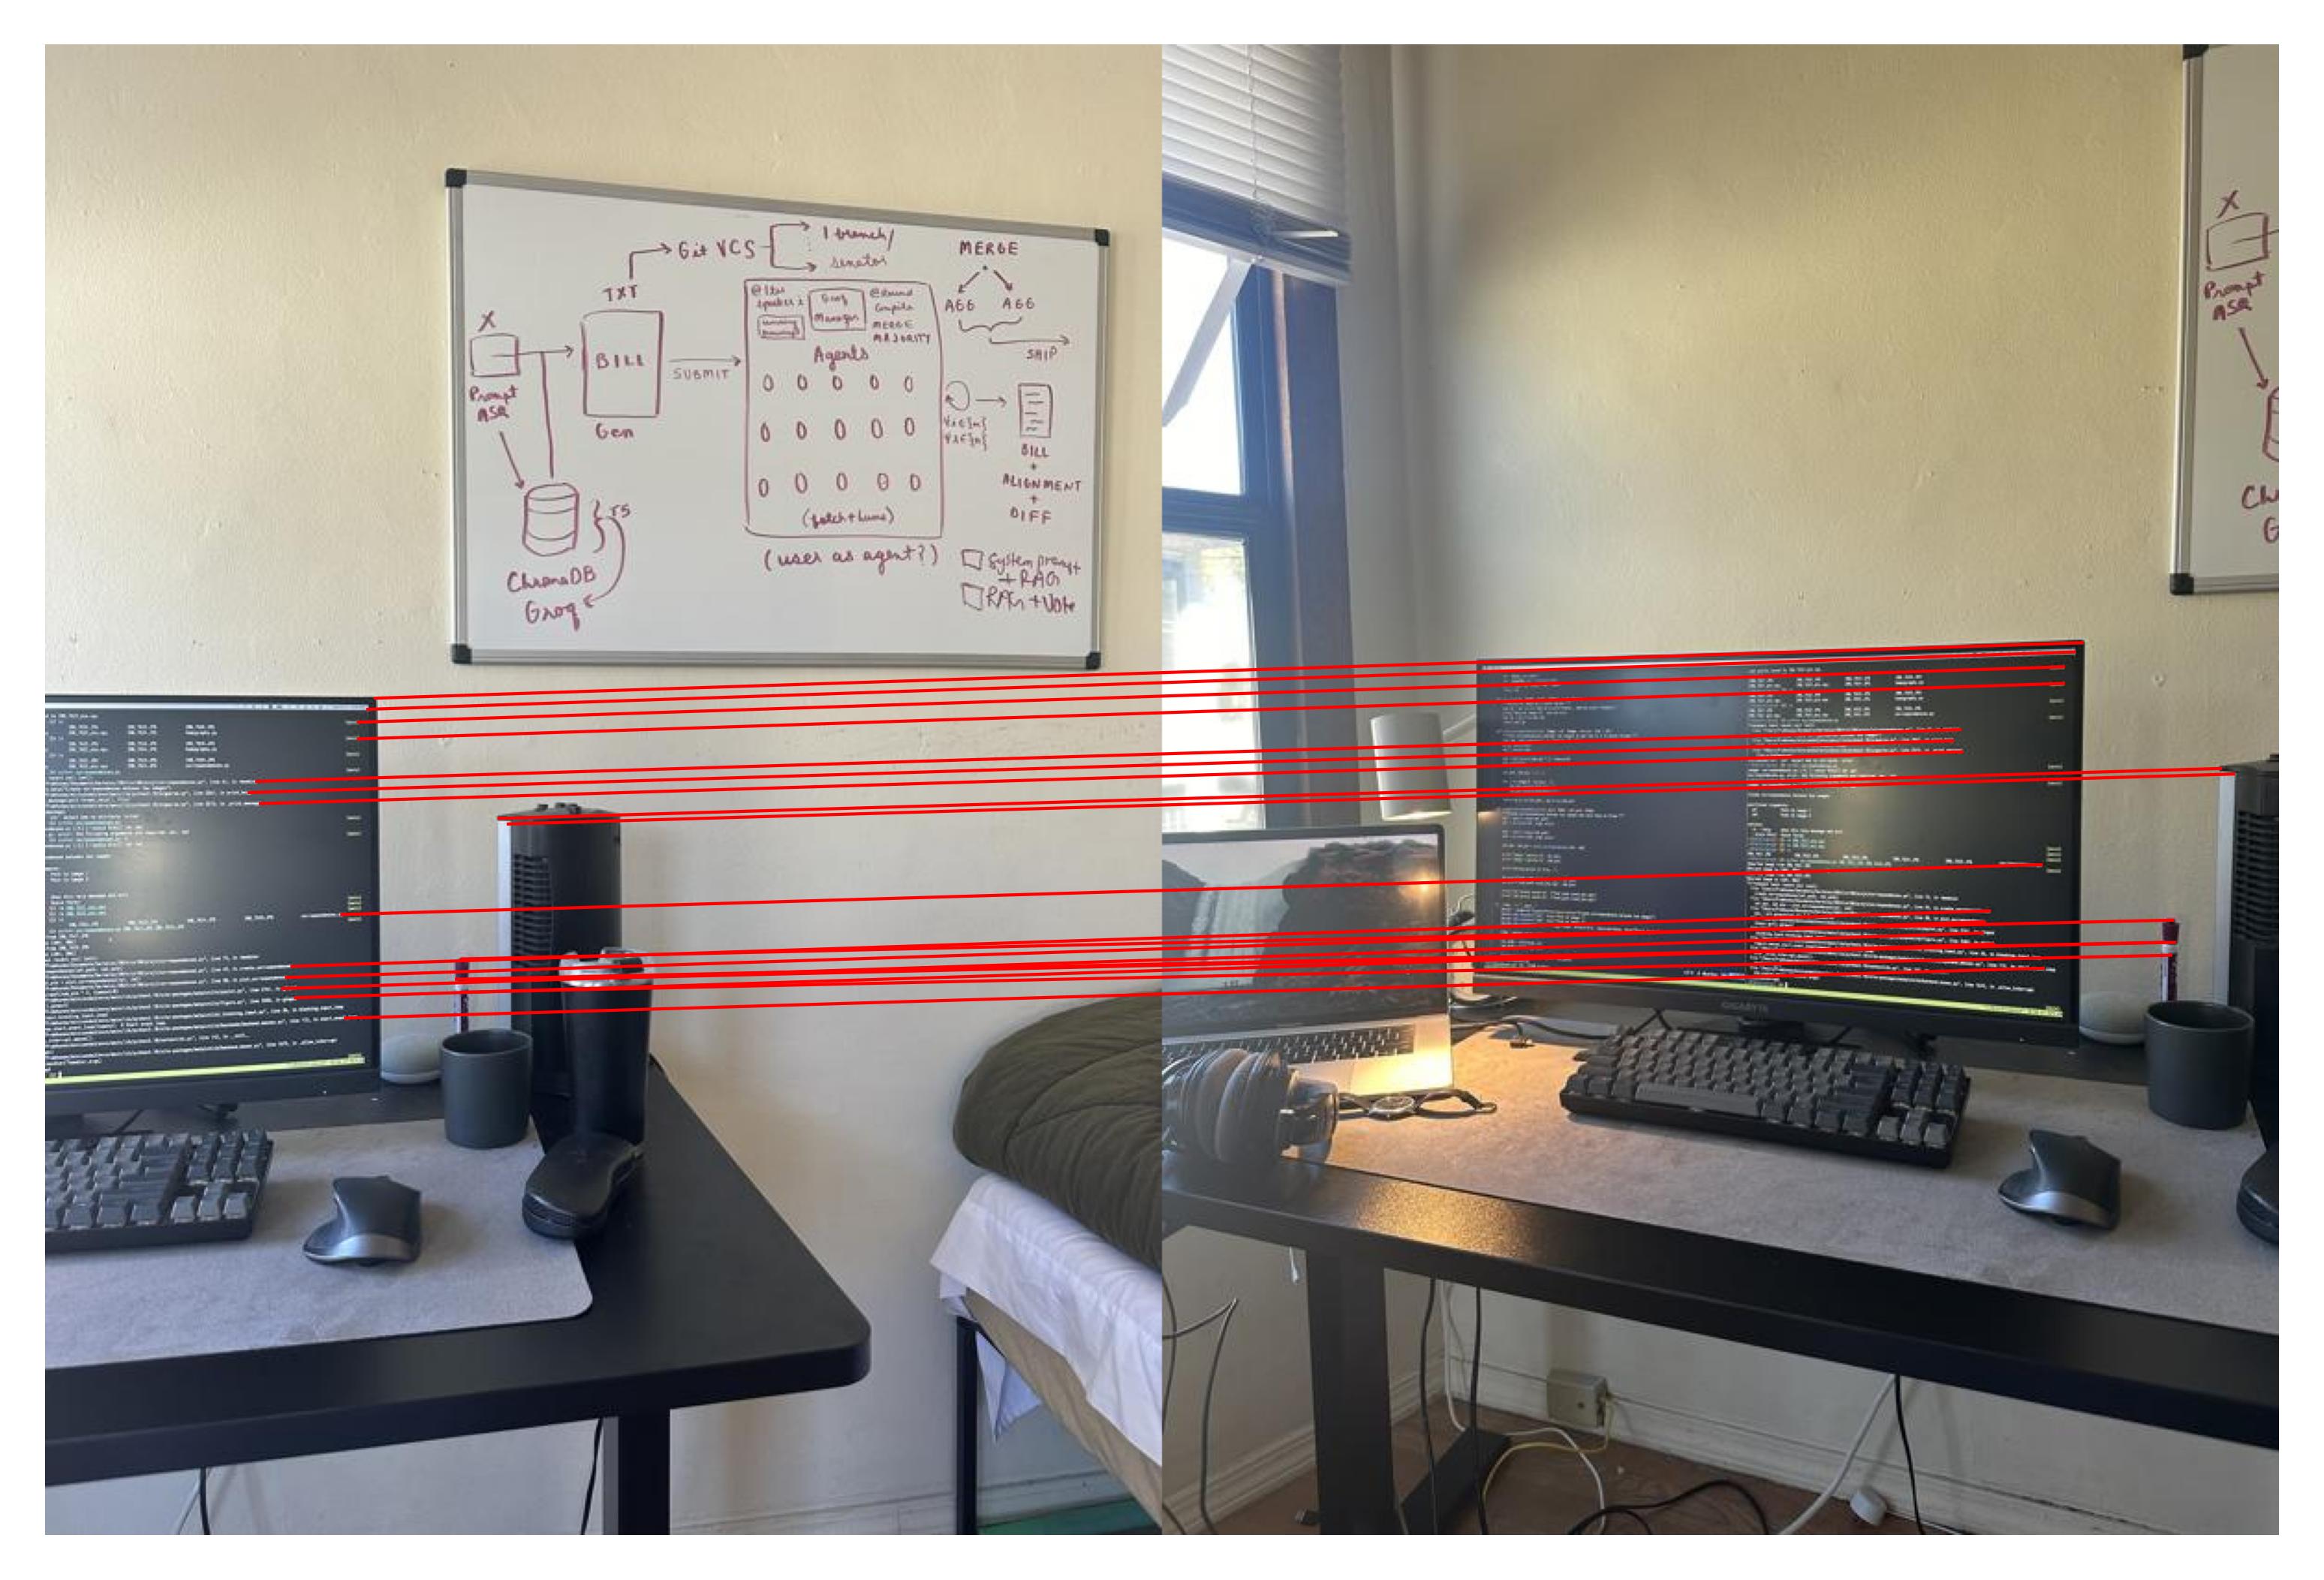
Desk RANSAC Matches
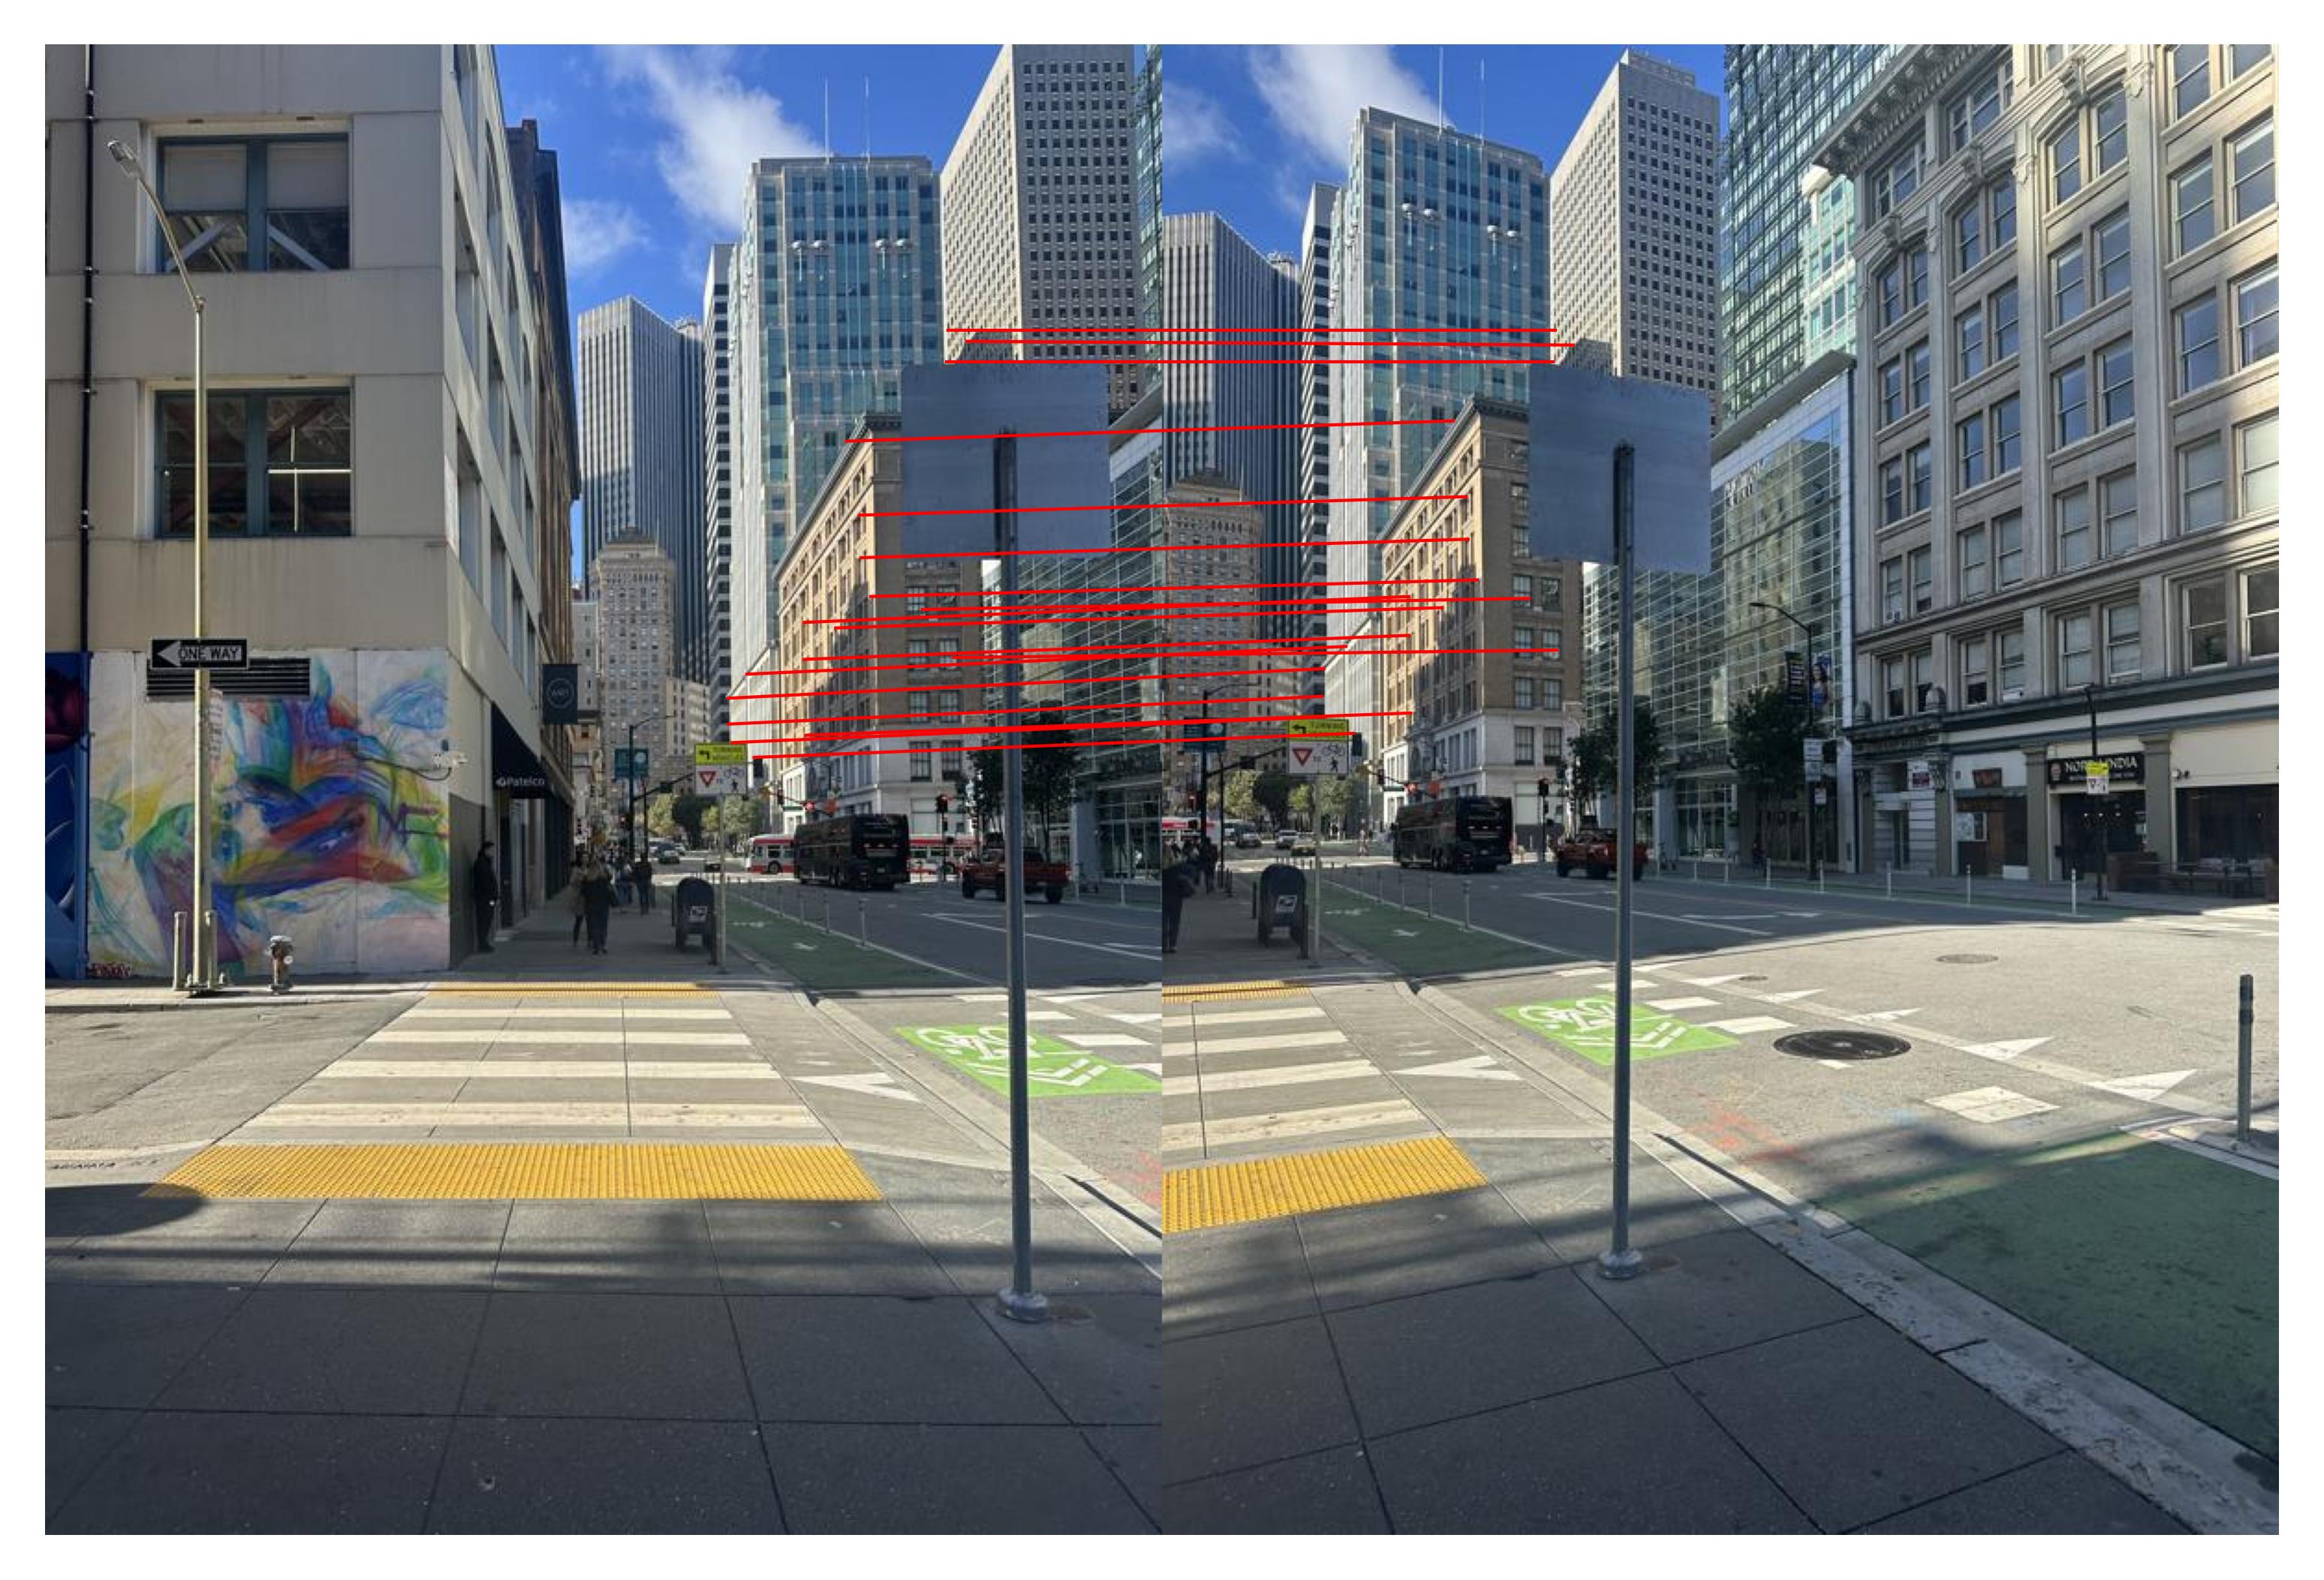
SF RANSAC Matches
RANSAC has improved our matches, and we can now create mosaics using the automated process. Here are the results:
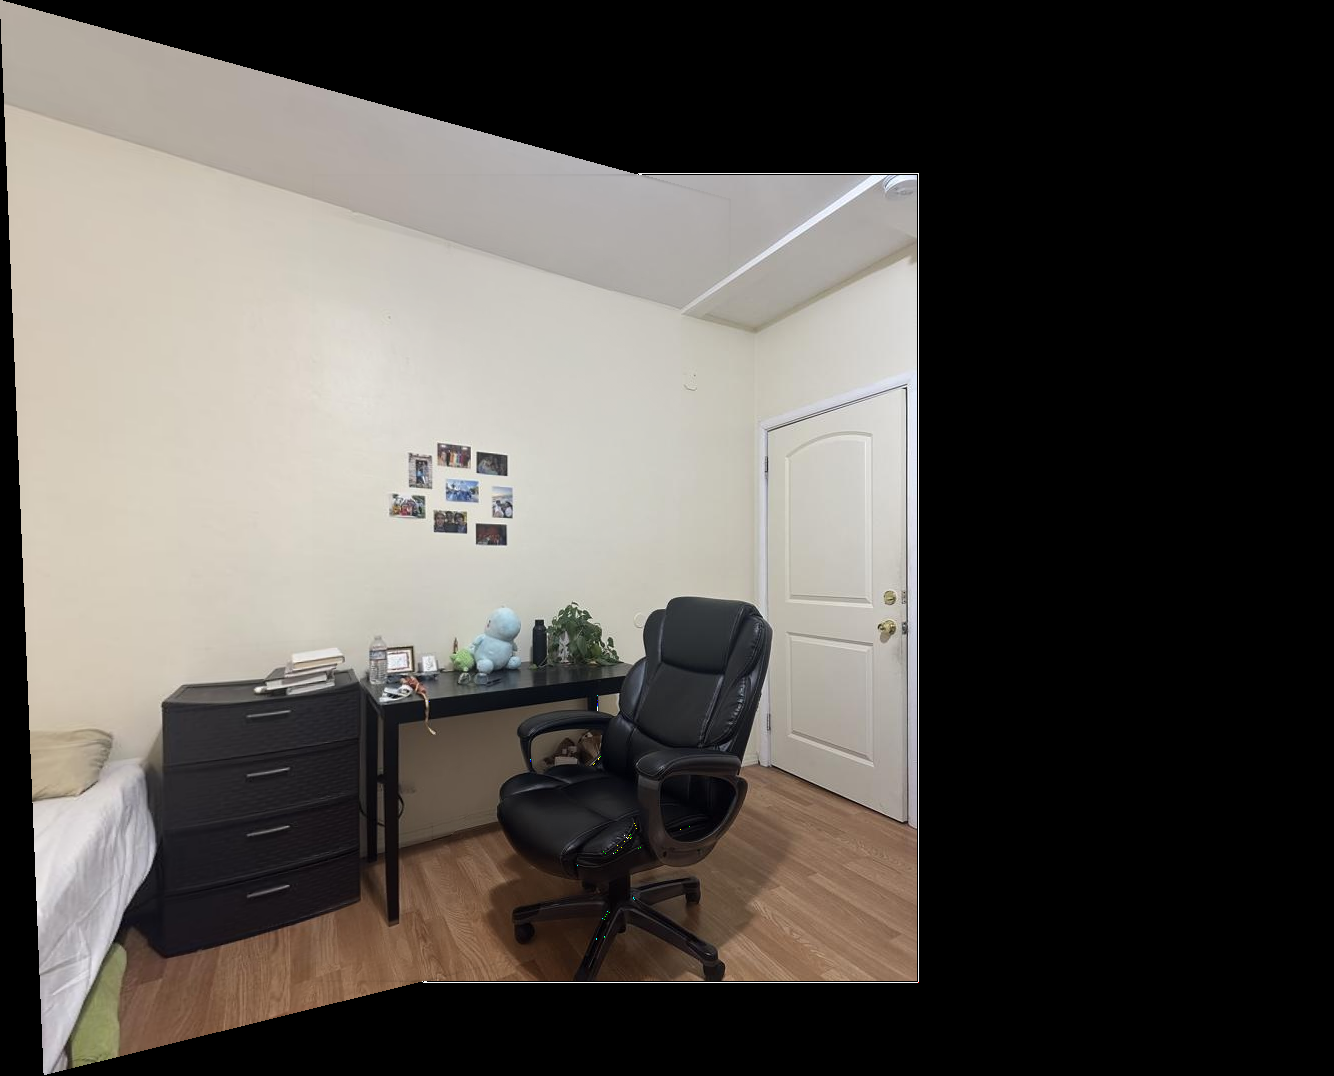
Room Automated Mosaic
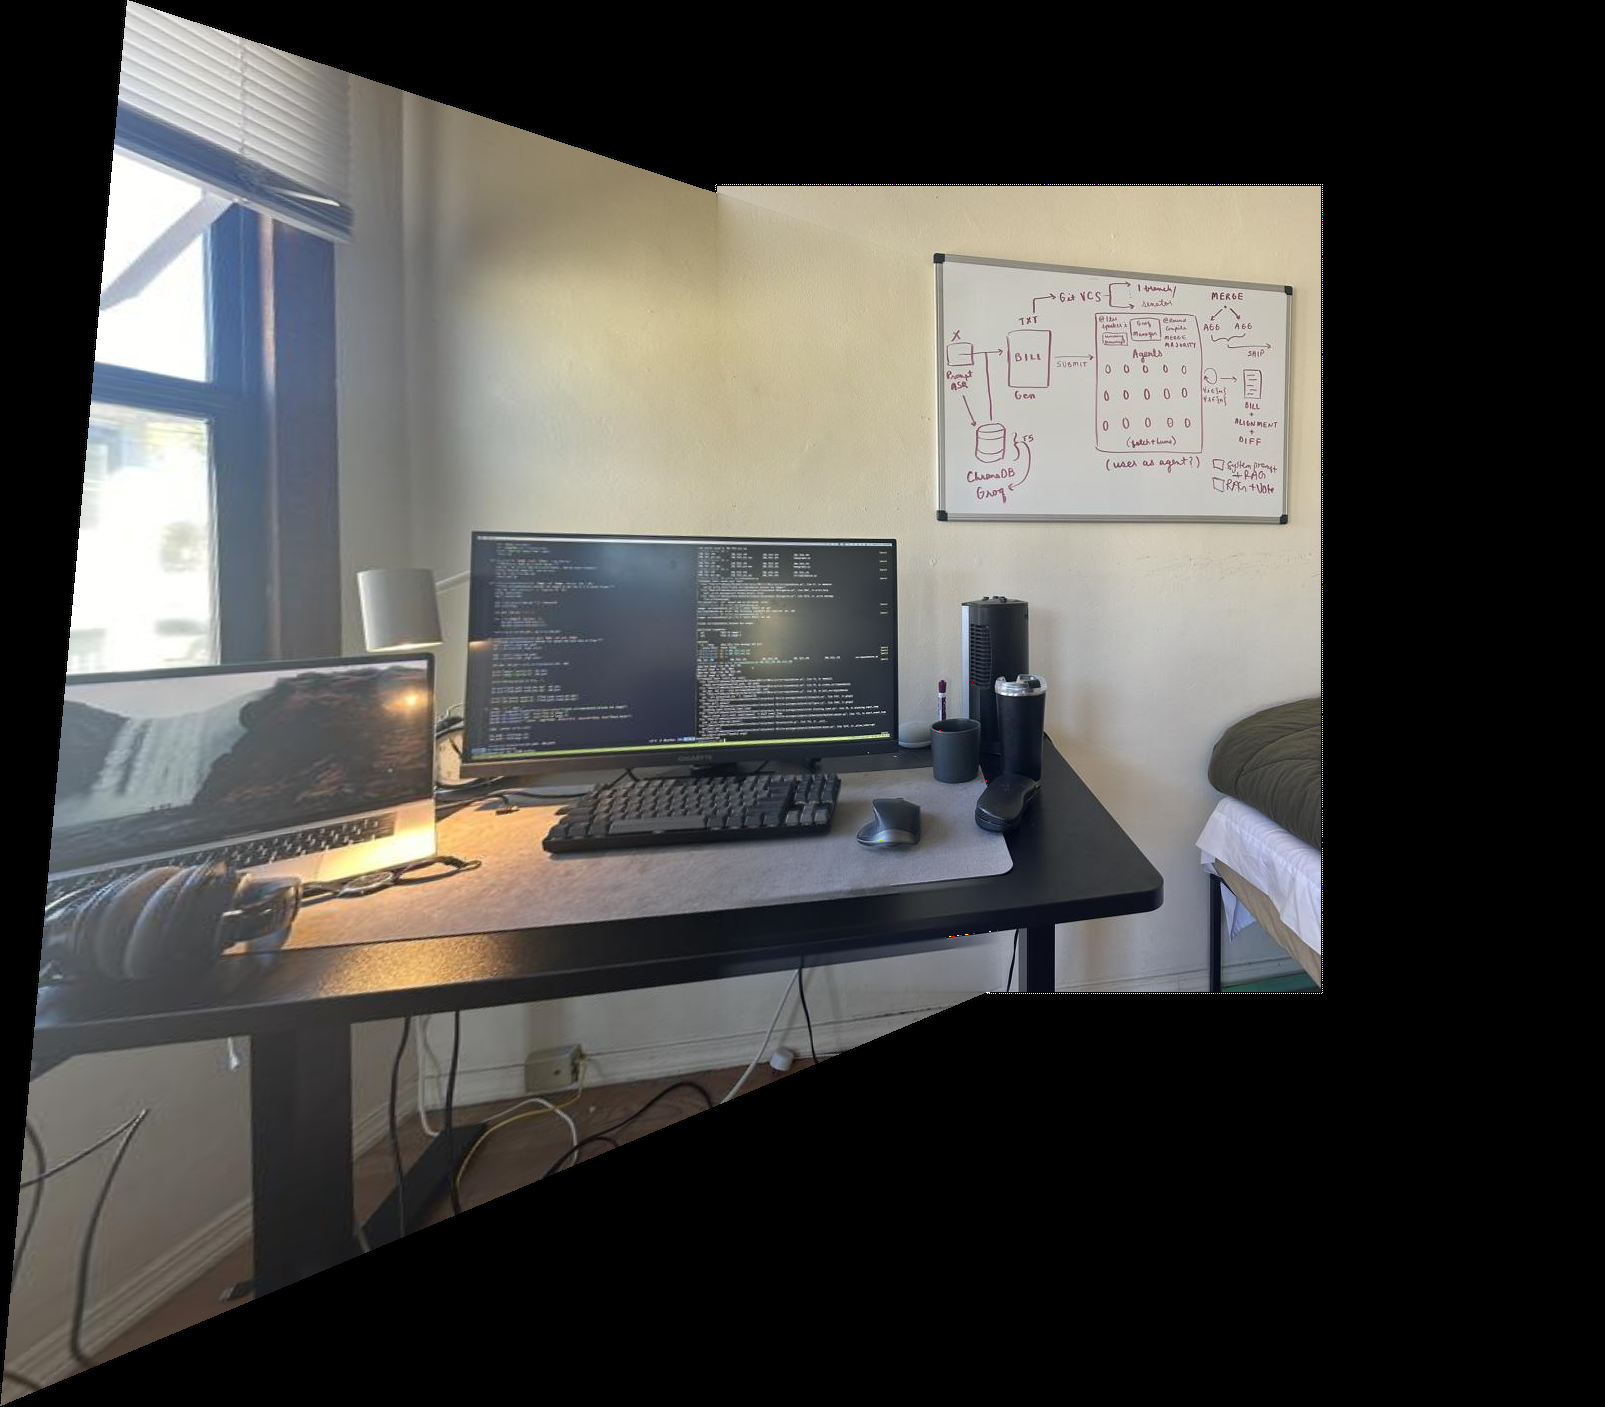
Desk Automated Mosaic
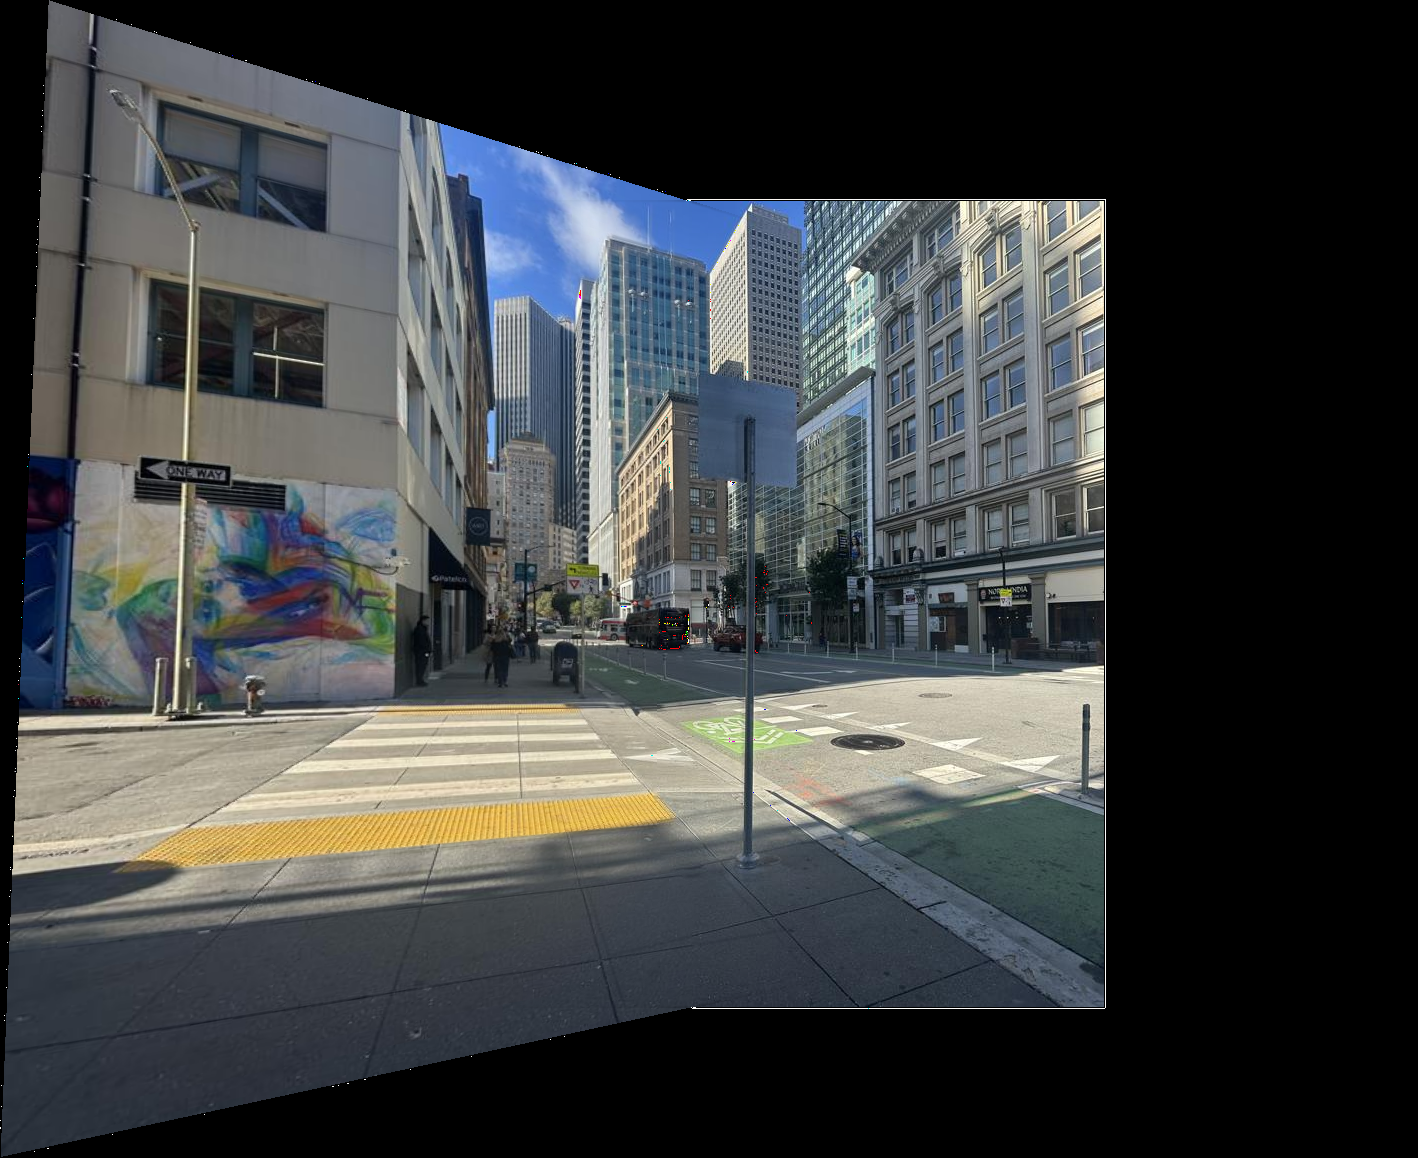
SF Automated Mosaic
This project was really amazing! The coolest thing I learned in this project was the Harris corner detection algorithm, which used so many concepts from both previous classes and novel ideas to create a nice corner detector.